photo botslide.jpg

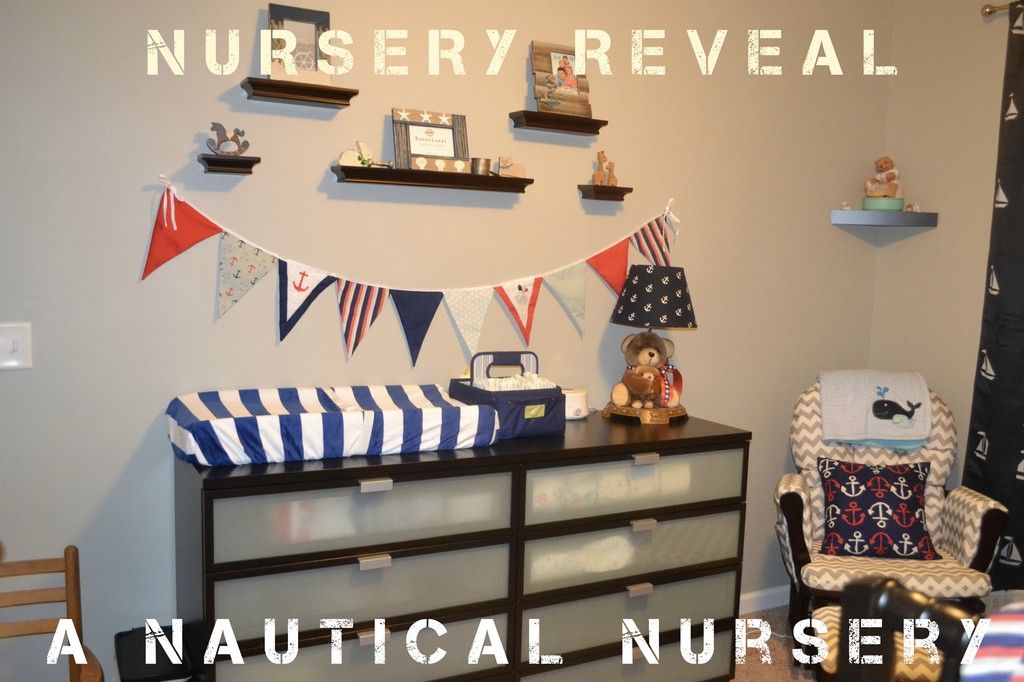
Nursery Reveal - A Nautical Nursery

Wednesday, May 31, 2017

 photo nursery_zpsfonohnd1.jpg


Welcome!

 photo DSC_0516_zpsl70onxhs.jpg
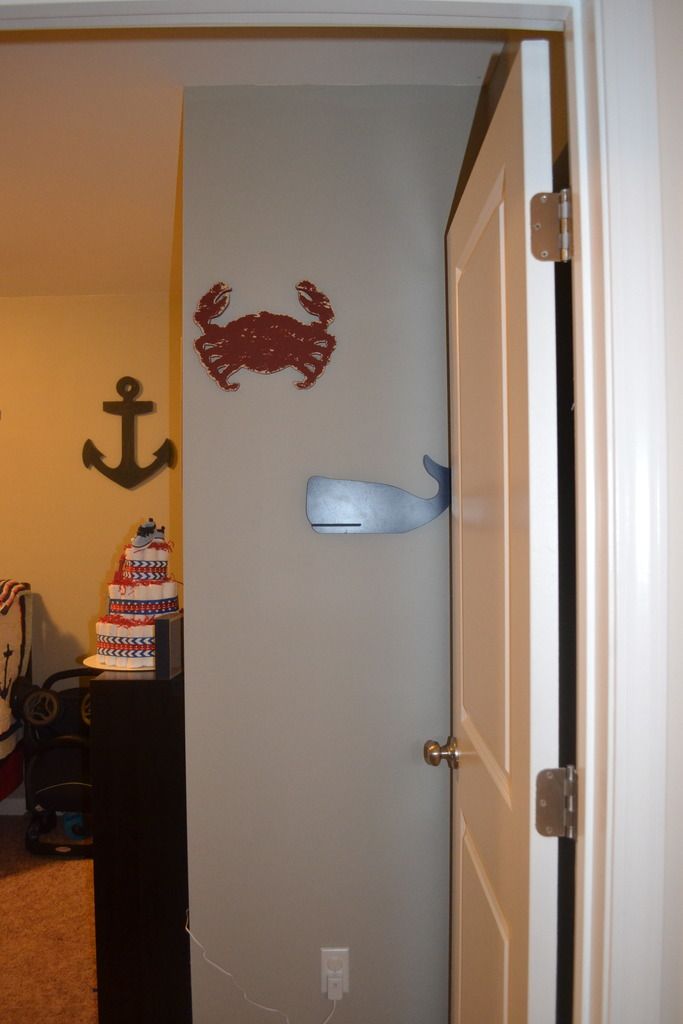
Crab and whale from Hobby Lobby.


First up is the wall with the changing station.  I decided to forgo a traditional changing table and use a spare dresser that I already had.  Not only did I not have to buy an extra piece of furniture, but the dresser will get use for many years to come.  Plus, I can't complain about all the extra storage!
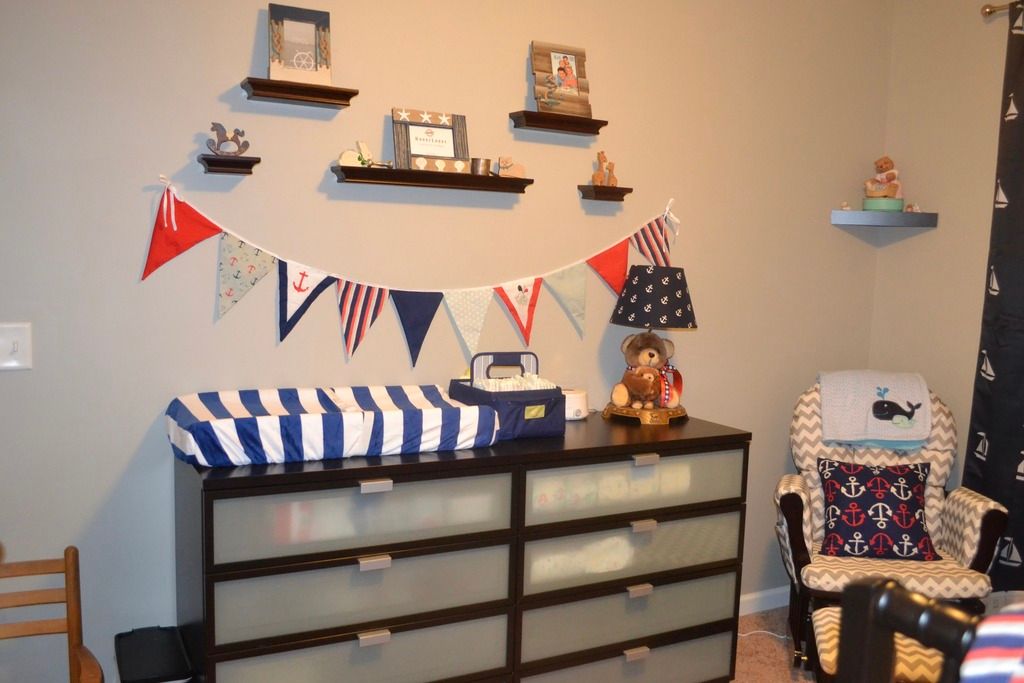
 photo fullsizeoutput_28bc_zpszbfm99ah.jpeg


We decided to put some shelves above the changing station to hold some picture frames along with some things from mine and Chuck's childhood.
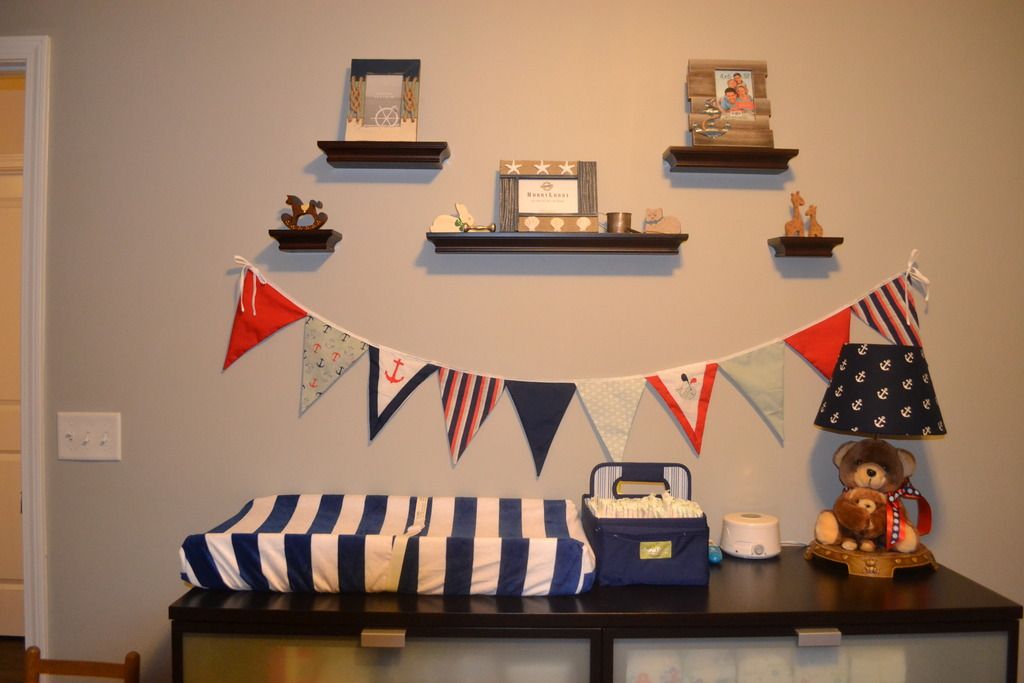
 photo DSC_0520_zpsxzmzvzal.jpg
Changing pad cover from Babies 'R' Us.
Picture frames from Hobby Lobby.
Decorative banner a part of the bedding set from Pam Grace Creations.
Shelves from Target.


The teddy bear lamp was from my nursery when I was a baby, and I redecorated it to match the nautical theme. I covered the shade in nautical fabric and tied matching ribbon in a bow around the bear's neck. I am really happy with how it turned out!
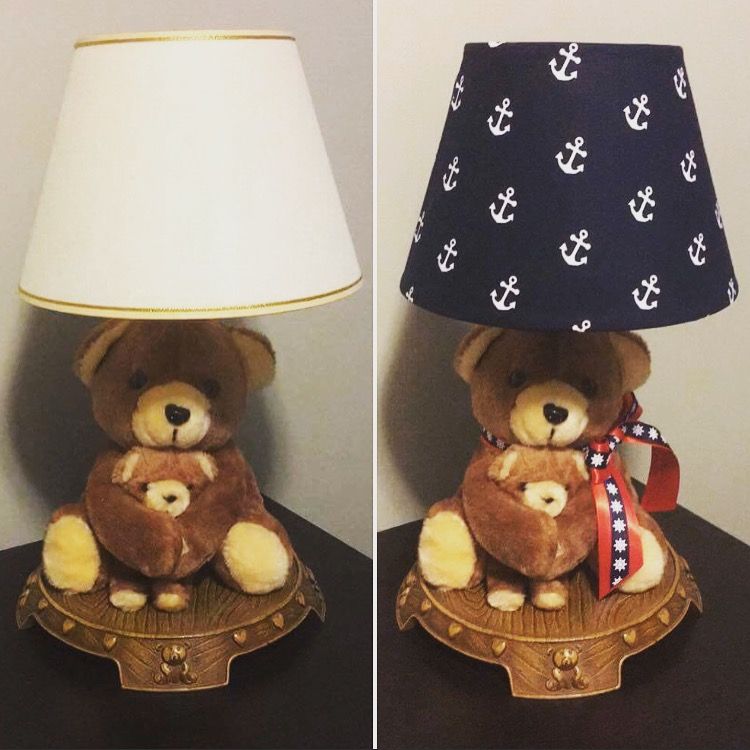
 photo IMG_2223_zpsizhmc7xb.jpg


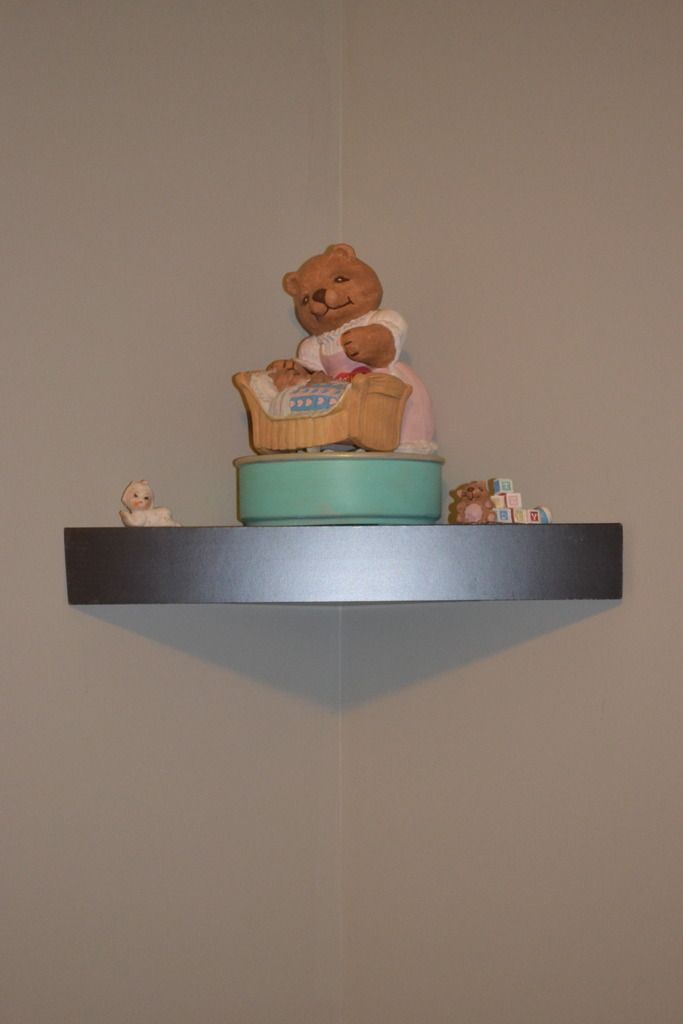
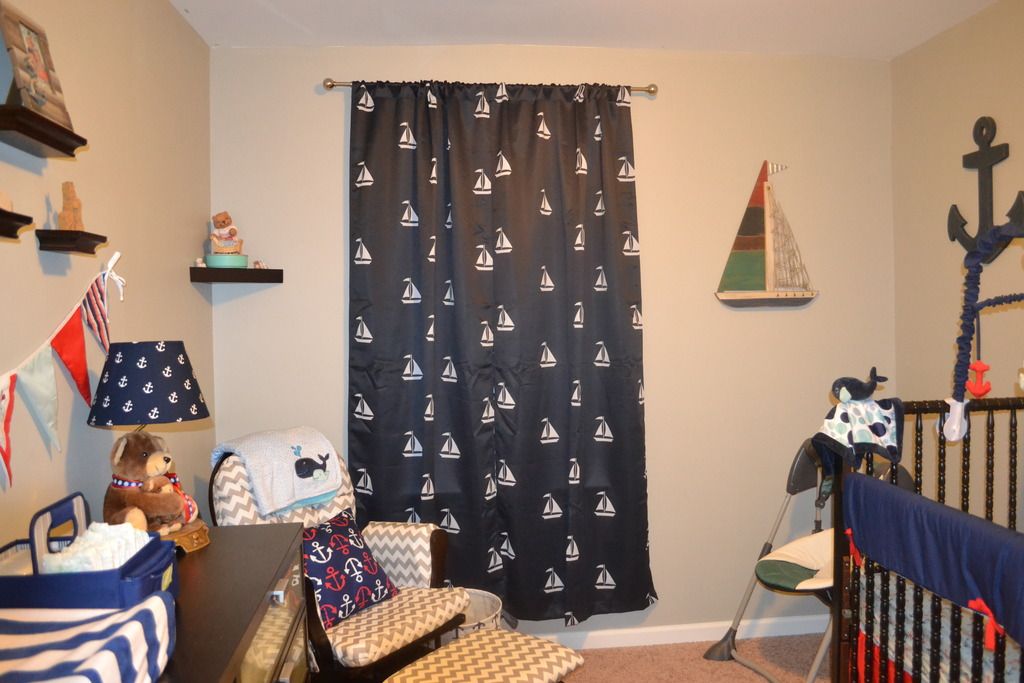
In the corner I have my glider and ottoman that my mother-in-law so graciously gifted us.  Sometimes I just sit in it and admire the nursery!  The corner shelf above the glider has some more things from my nursery.
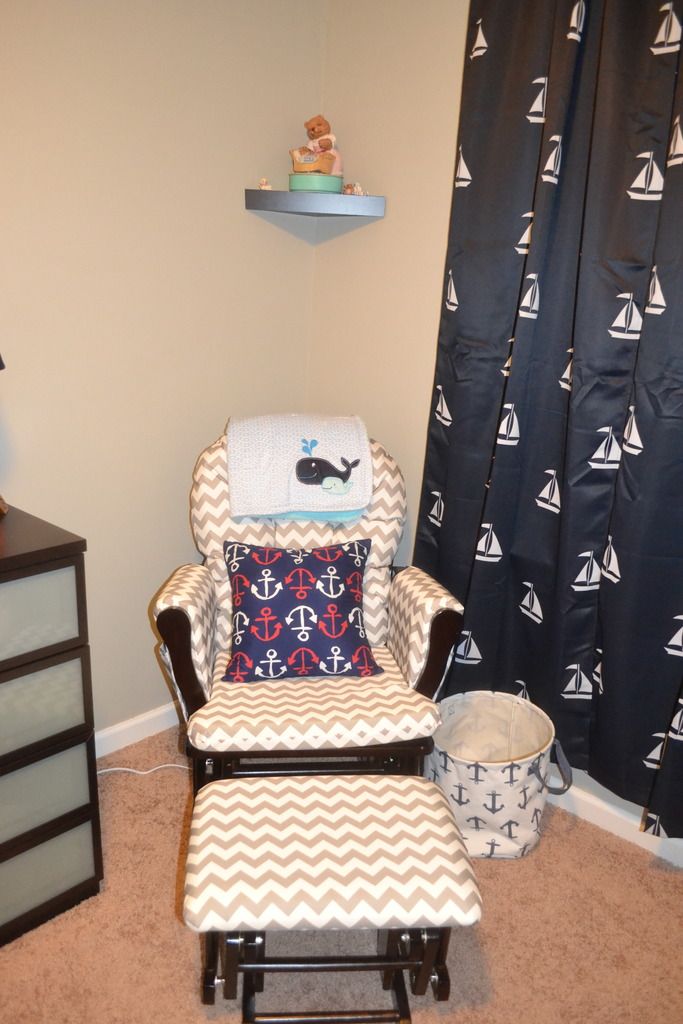
 photo DSC_0523_zpsnf1chjq2.jpg

 photo DSC_0532_zpsu8yflqzj.jpg

 photo DSC_0524_zpsrlciephm.jpg
Hoop glider and ottoman by Storkcraft from Babies 'R' Us.
Blanket by Carter's from Babies 'R' Us.
Decorative pillow from Hobby Lobby.
Sailboat curtains from Birch Lane.
Sailboat wall art from Hobby Lobby.


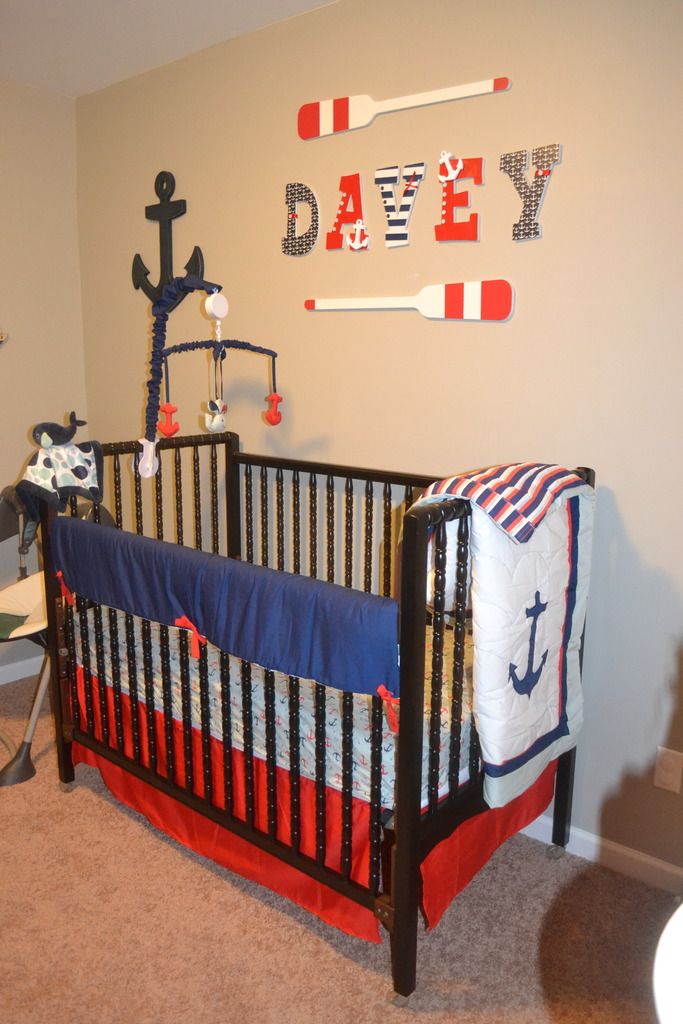
Now for my favorite part of the nursery, the crib wall! I had so much fun decorating this wall and selecting the bedding for the crib. It turned out perfectly! I actually made the letters for the name myself. It was a fun project and super easy too. You can find my tutorial here.
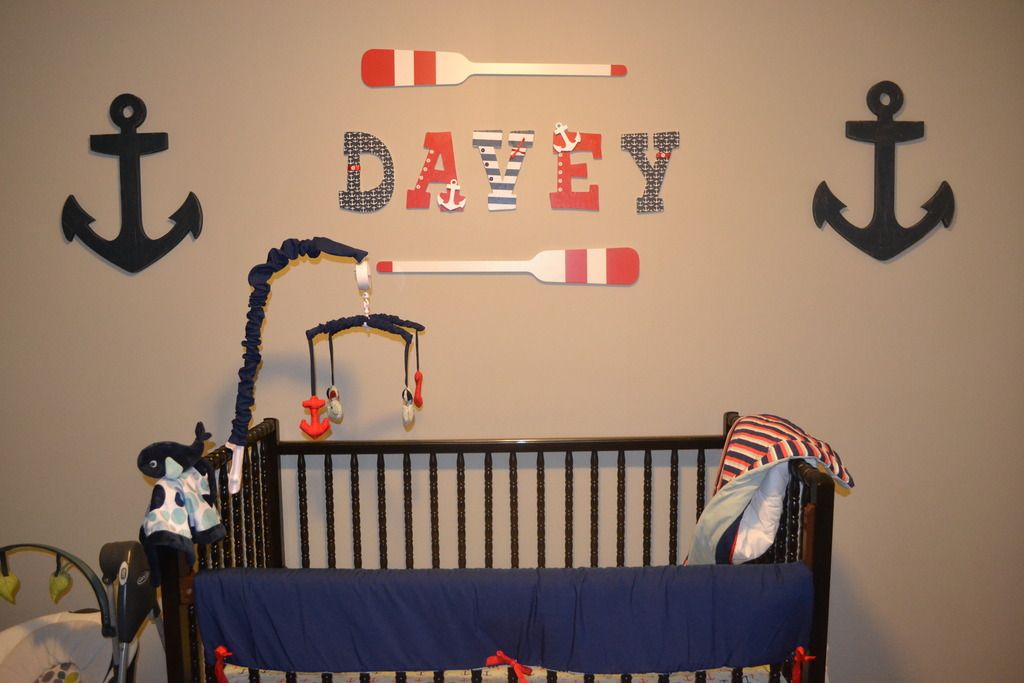
 photo DSC_0531_zpsubbvqtwn.jpg

 photo DSC_0533_zpspybzloun.jpg


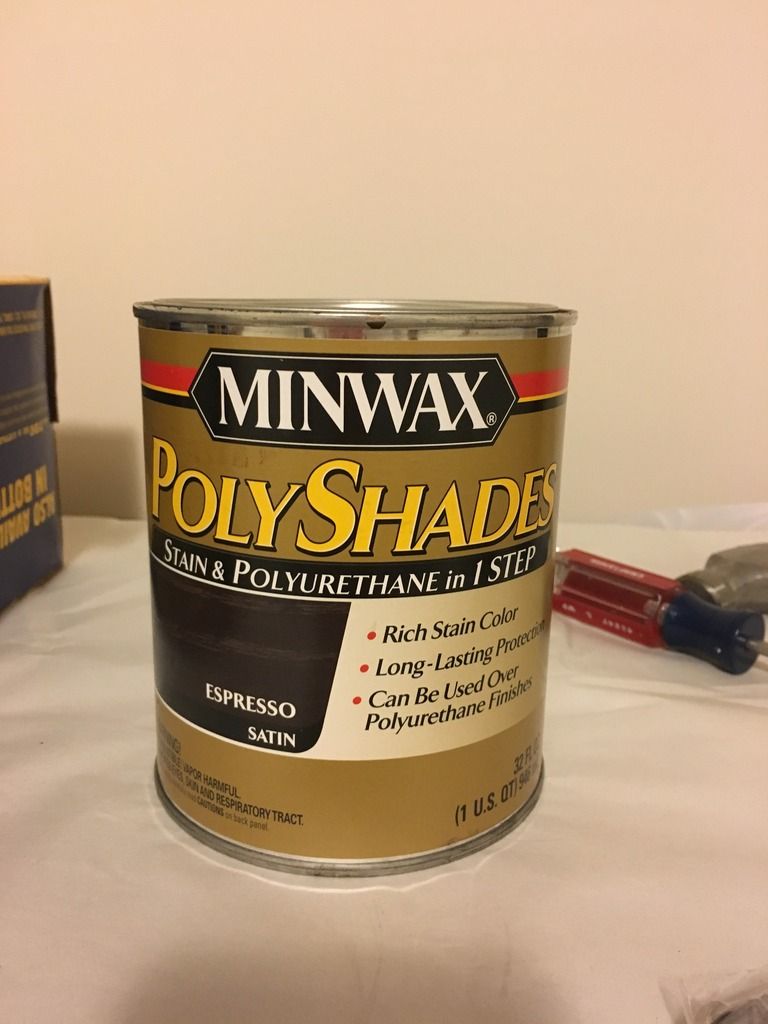
The crib was actually the one my mom had for my sister when she was a baby.  The finish on the original wood was worn from use and being in storage, and the color didn't match the dresser or the color scheme for my house, so I sanded and stained it darker. I used Minwax Polyshades in satin expresso finish from Lowes.  I liked this product because it stained and polyurethaned in one step.  It made it look like a whole different piece of furniture!
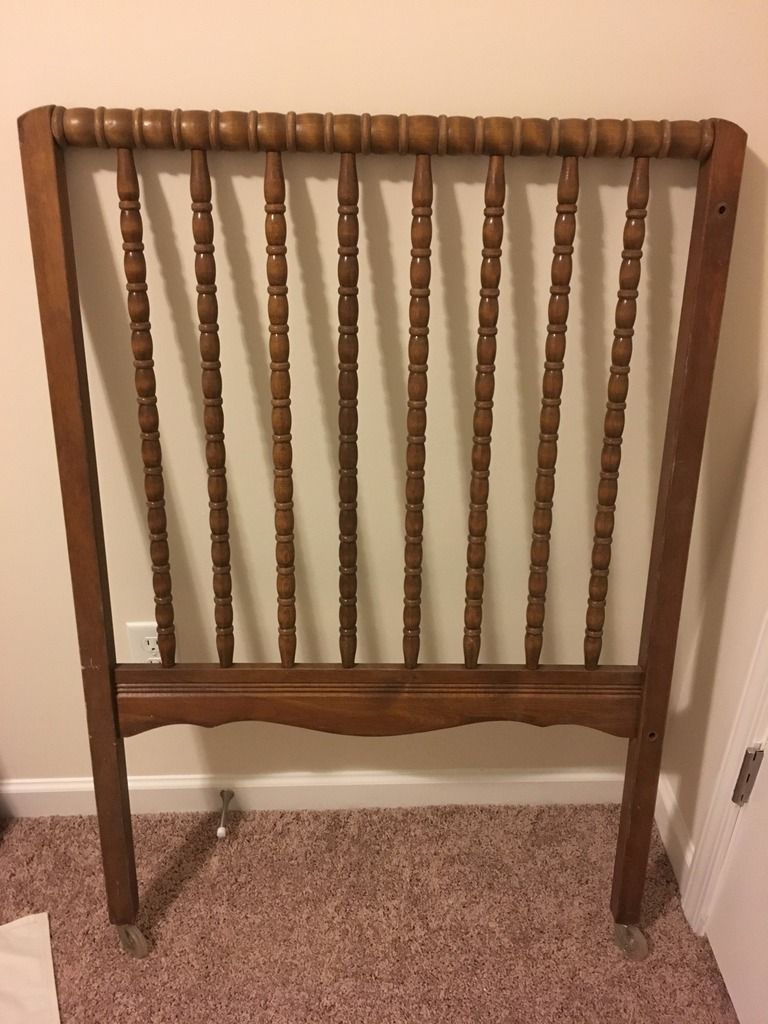
 photo IMG_1918_zps0jyaoxfn.jpg

 photo IMG_1919_zpsikmdcmqd.jpg


Finally, the closet wall.  This is the wall that I put the shelf on for toys and books, a lot of which were mine growing up! My mom made the awesome diaper cake for my baby shower that I don't have the heart to disassemble yet.
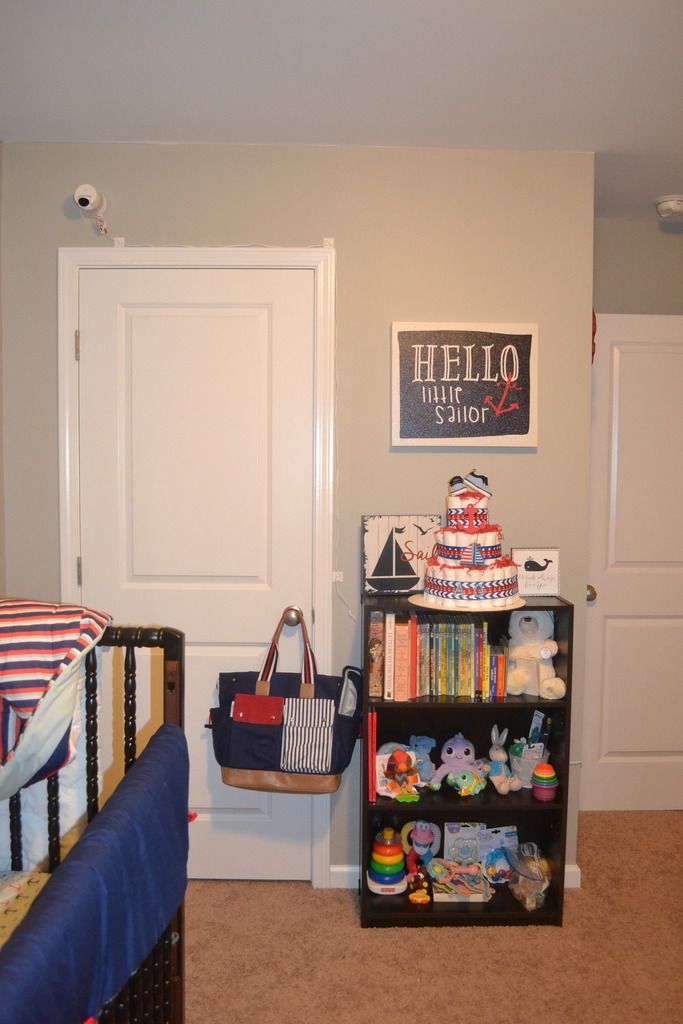
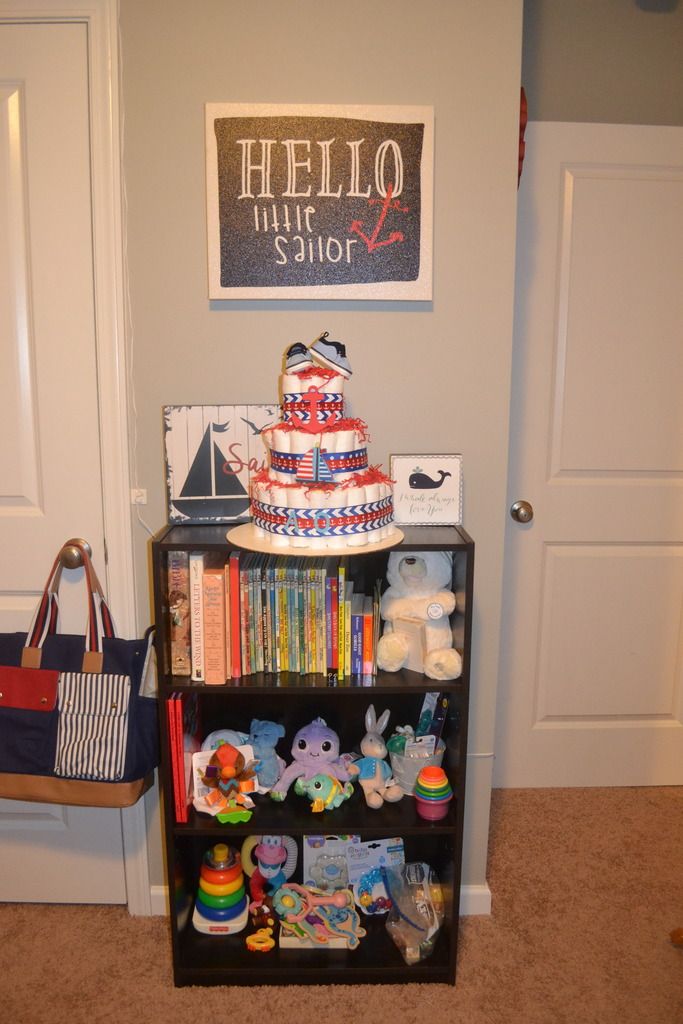
 photo DSC_0518_zpsaqwufaq8.jpg

 photo DSC_0519_zpsoe00cnir.jpg
Hello Little Sailor canvas, Sail block, and I whale always love you block from Hobby Lobby.


Last but not least, the inside of the closet.
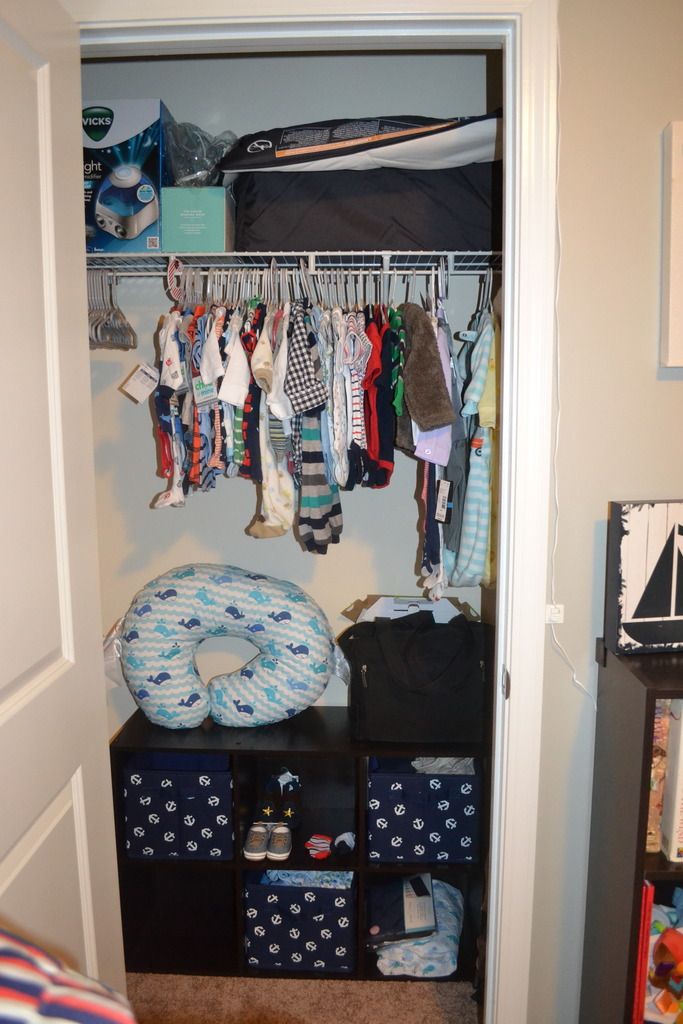
 photo DSC_0536_zpsnv8rm4iu.jpg


My favorite thing about this is the clothes dividers. I'm hoping these will keep me organized so Davey doesn't outgrow anything before he gets a chance to look handsome in it! photo DSC_0538_zpsierkithu.jpg
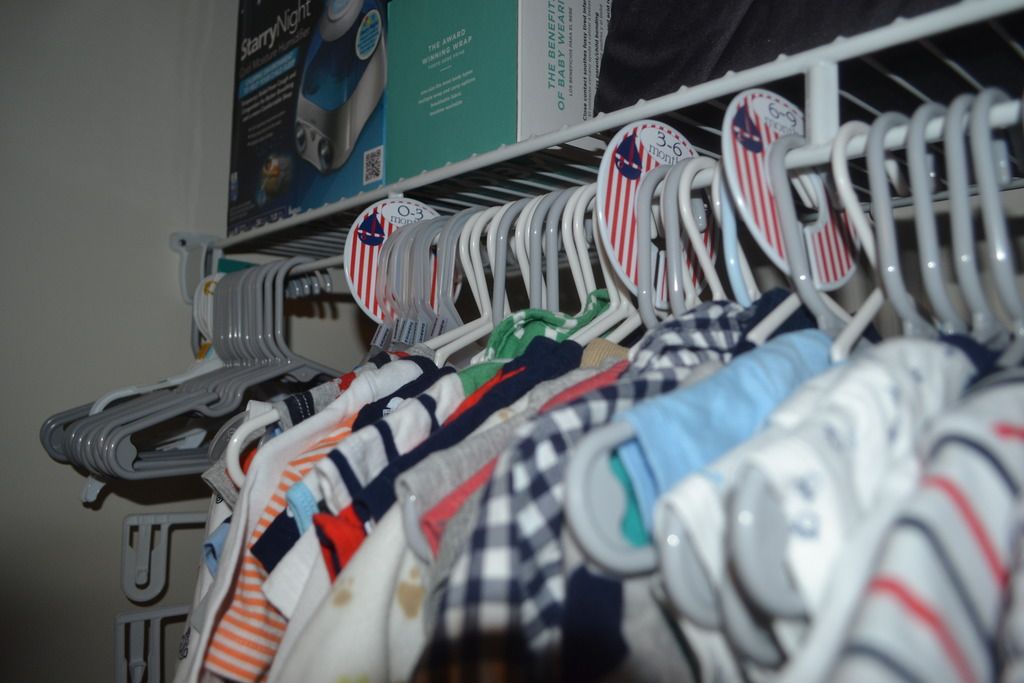
Closet dividers from Etsy.


Now we are just waiting for our little man to arrive!


DIY Nursery Wall Letters

Friday, January 13, 2017

Ever since we found out I'm pregnant, I have been on Pinterest like crazy finding ideas for the nursery.  One thing that I kept seeing was having the baby's name on the wall above the crib, and I really liked that idea. I'm going with a nautical theme for my nursery, and I saw several places that I could buy letters that were customized to my theme.  But after lots of looking and being the craft loving person that I am, I decided to make the letters myself.  Besides that, I made these for about $30 cheaper than buying them, so that was a plus!

Here's how I made my letters.

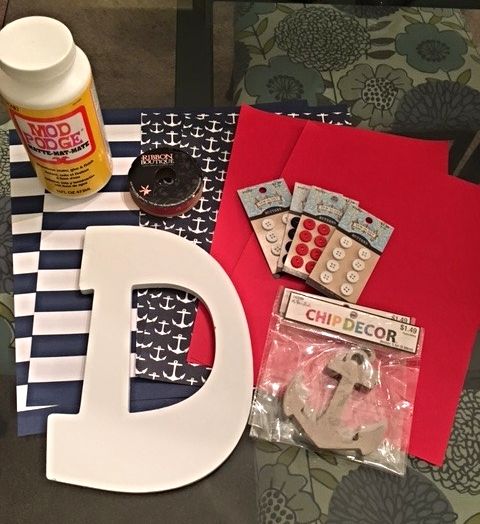
Things you'll need:

 photo 0a403476-5b64-429e-8d21-bd09714b7800_zpsp4ixidwc.jpg
  • Wooden letters
  • Designer/scrapbook paper or card stock
  • Mod Podge
  • Paint brush
  • Decorations (buttons, wood/cardboard/foam shapes, ribbon, ect.)


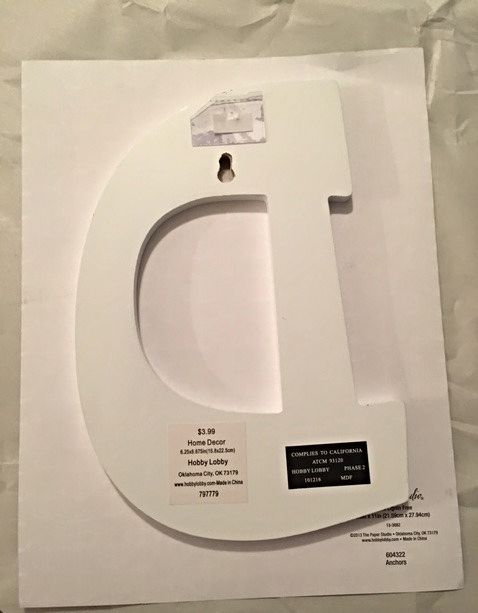
The first thing that you want to do is trace your letters on the paper.  You will want to make sure that you are looking at the back side of the paper and the letter.


 photo 8d36c805-f6f5-405e-86c4-b5bba6b31adb_zpskx2pqchq.jpg
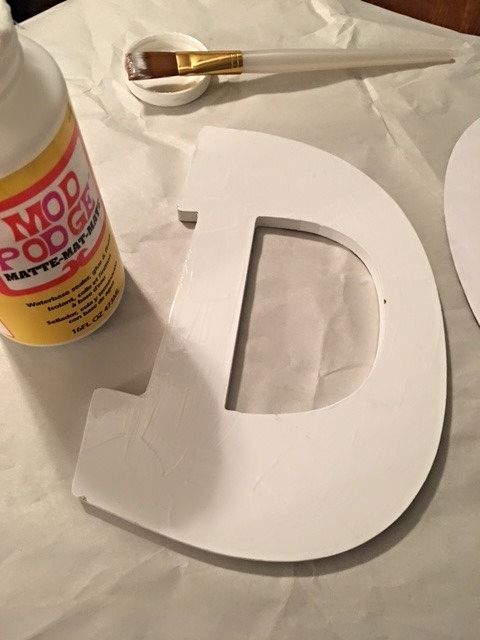
After tracing, turn the letter facing the front side and apply a coat of Mod Podge to the surface.

 photo ed5bf02c-d292-446b-a3a7-a22bd3ba19a6_zpsbnxyl1pe.jpg
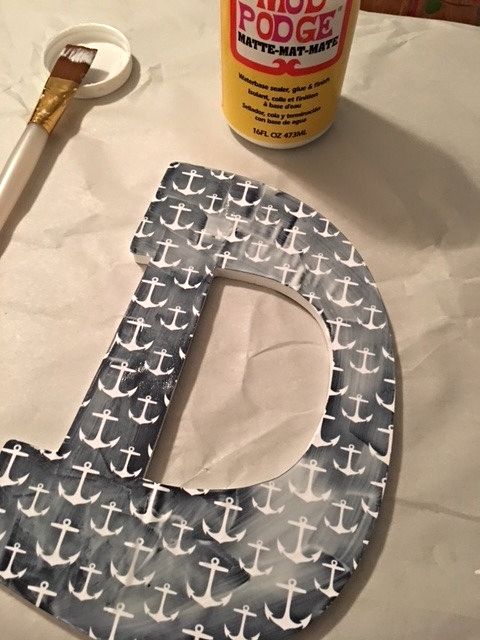
Next, place the paper tracing decorative side up on top of the letter.  Use your fingers to press the paper into the letter, smoothing out any bubbles as you go.  After the paper is smooth, apply a coat of Mod Podge over the surface of the paper.  Do the same to the other letters and move to the side to let dry completely.


 photo 30fabd19-ccf8-4a3c-8d58-77ba6ec8b1f1_zpsdqmepr9x.jpg

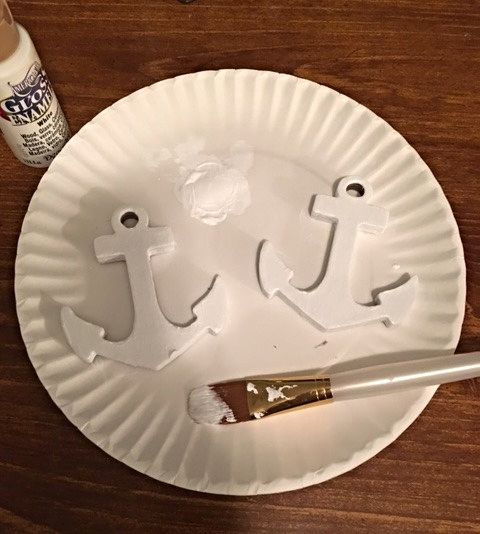
I wanted to add some anchor appliqués to my letters, so while the Mod Podge was drying I painted them.

 photo 37beac7d-073c-4210-861e-f2c593acd31b_zps0ll3jdqo.jpg


After the Mod Podge is dry, the letters are ready to decorate.  I used ribbon, buttons, and the anchors to decorate my letters.  I used hot glue for a quick and easy finish.  Here was my final product.


All in all, I spent about $20 at Hobby Lobby for all of my materials.  The project was also quick and super easy! I'm extremely happy with how they turned out, and I can't wait to hang them in the nursery.

This is just the first of a long list of crafty projects I want to do for baby boy's nursery, so stay tuned!

Race Recap: Race 13.1 Charleston

Thursday, November 19, 2015

Follow my blog with Bloglovin It has been such a looooong time since I've written on my blog!  But as the title states, I've been really busy finding out what makes me {happy}.  And one of the things I've been really involved in since I've blogged last is running.

On Halloween this year, I participated in the Race 13.1 Half Marathon in Charleston, SC. This was a great learning experience for me, and overall, I had a great time in this race!

First of all, I have to say that I decided to run this race after I had already registered to run in the Rock 'n' Roll Savannah Half Marathon the following weekend.  But this race was on Halloween and look at that medal!  Can you blame me?!
In the training leading up to this race, I ended up with shin splints.  This was not a good thing when you're looking at 13.1 miles!  I used KT tape on my shins and took the two weeks prior to the race off from running.

Because of my shin injuries, I decided to visit Fleet Feet in Mt. Pleasant, SC, which was a great experience! I'm not a beginner runner by any means, but I haven't had enough experience to know why I would have shin problems this time during training, so I gave them a try. I'll have to blog about my experience there another time, but if you're ever having problems reaching your goals in running, I would highly recommend them or another running specialty store near you that can give you some pointers.

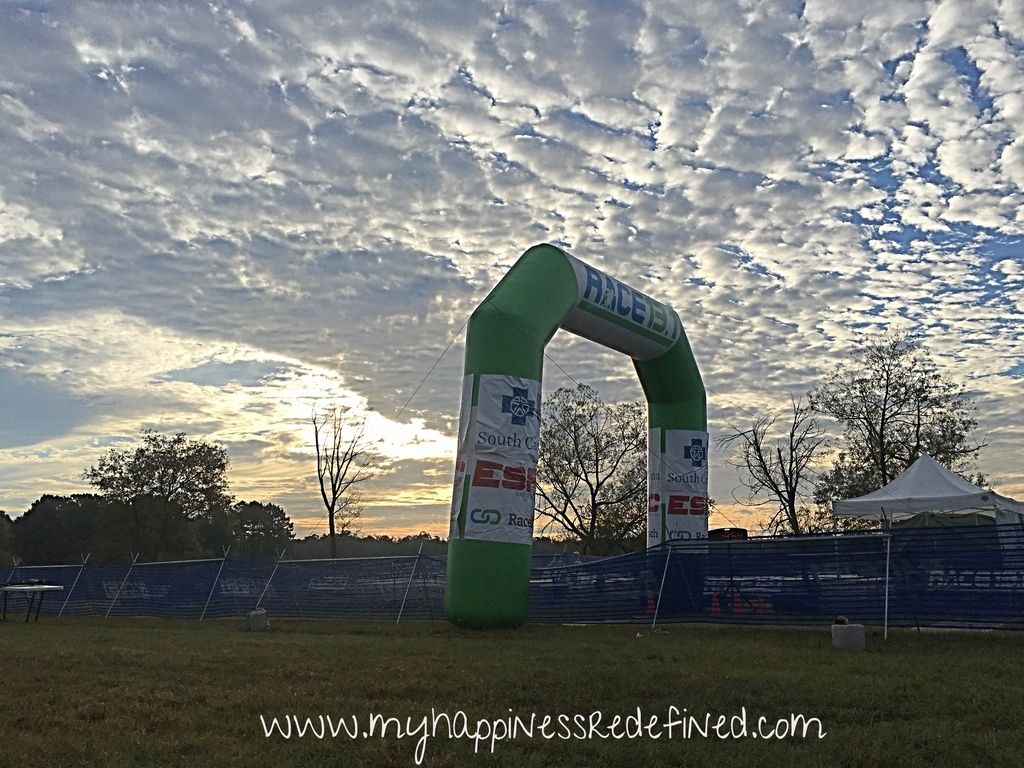
Anyway, a few months of training in and two weeks of rest later, I found myself at the starting line of Race 13.1.  The race took place in the beautiful Middleton Place in Charleston, SC.  


 photo a49dcf2c-1a3e-42c6-b155-67e5bbbc4c0c_zpseuyj4psk.jpg


 photo 90355263-5b9f-4e3b-a4ce-b5ef281b5057_zpsfooo4suc.jpg

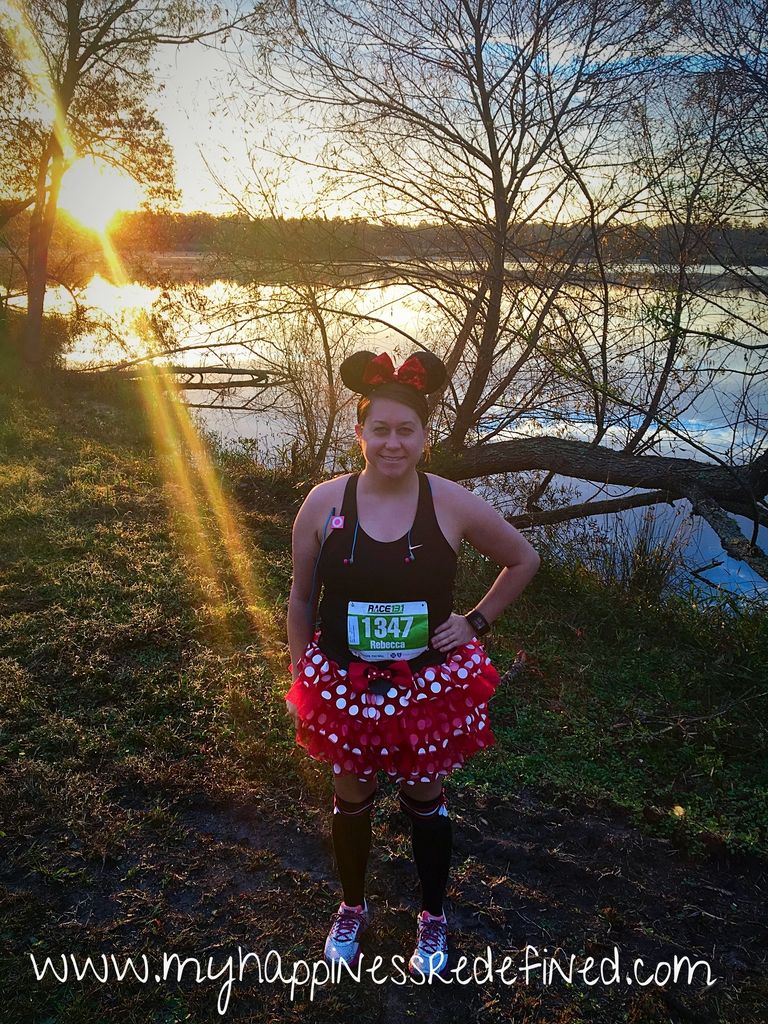
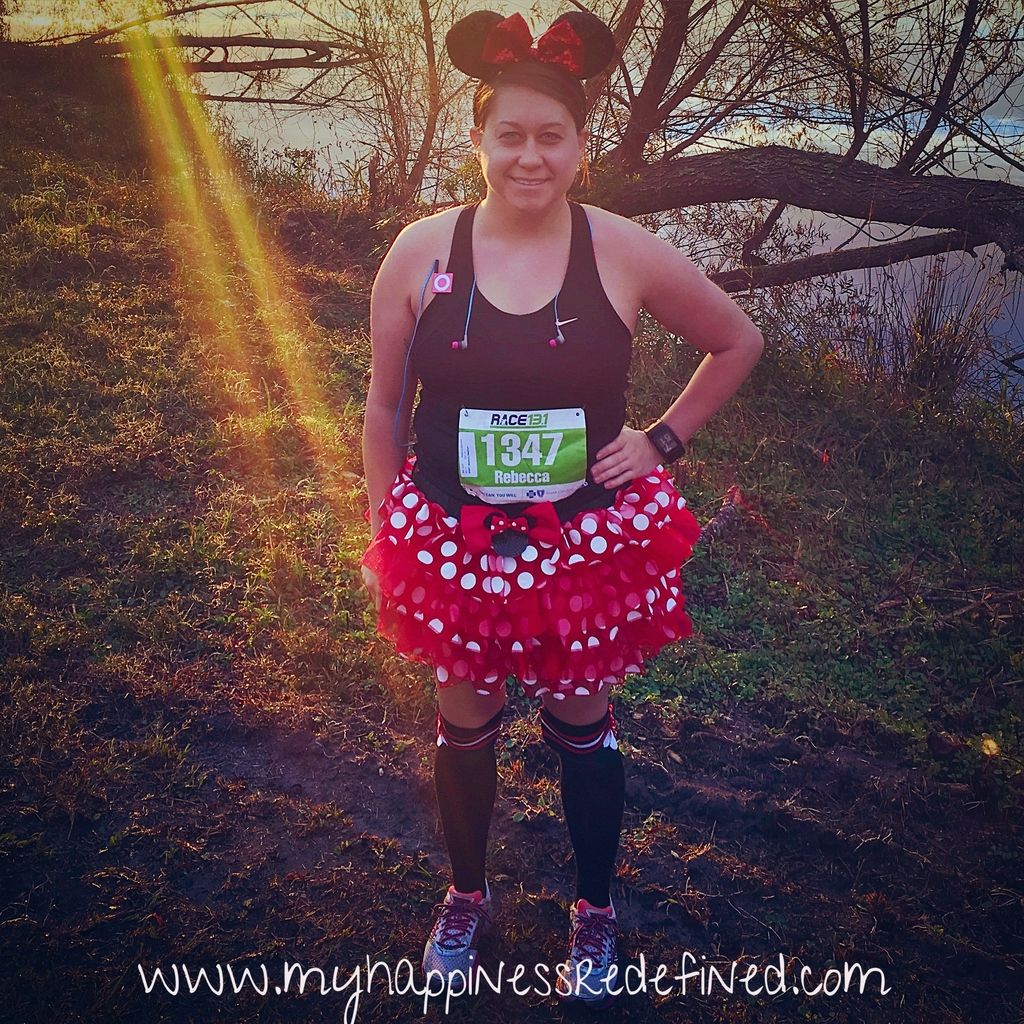
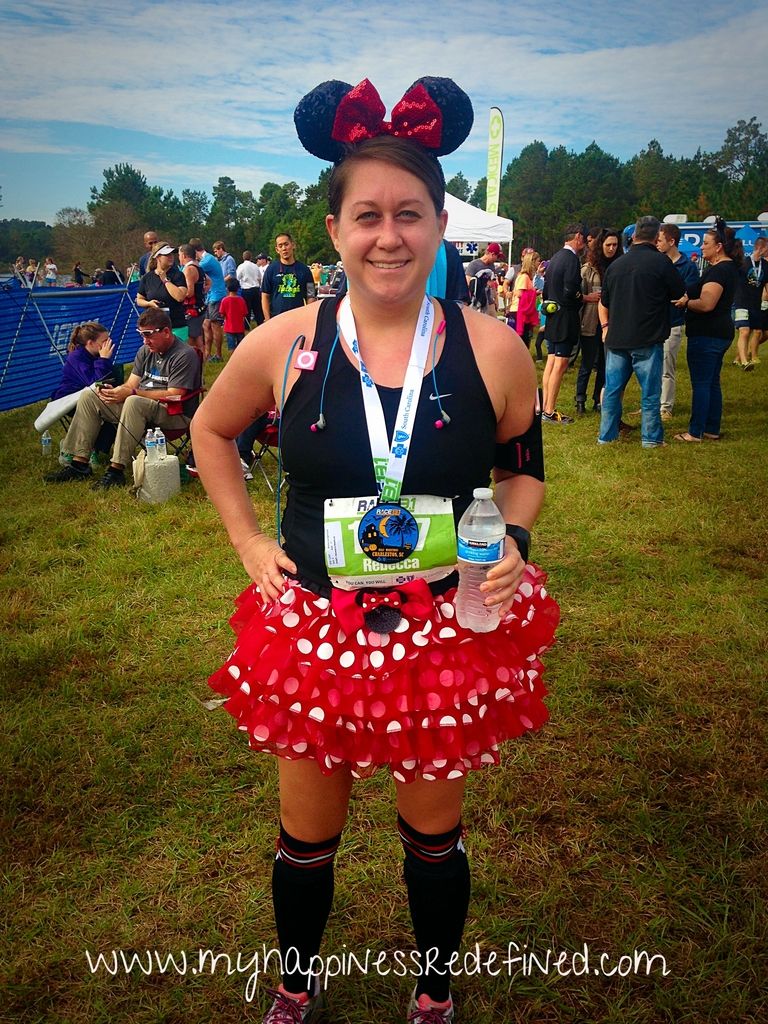
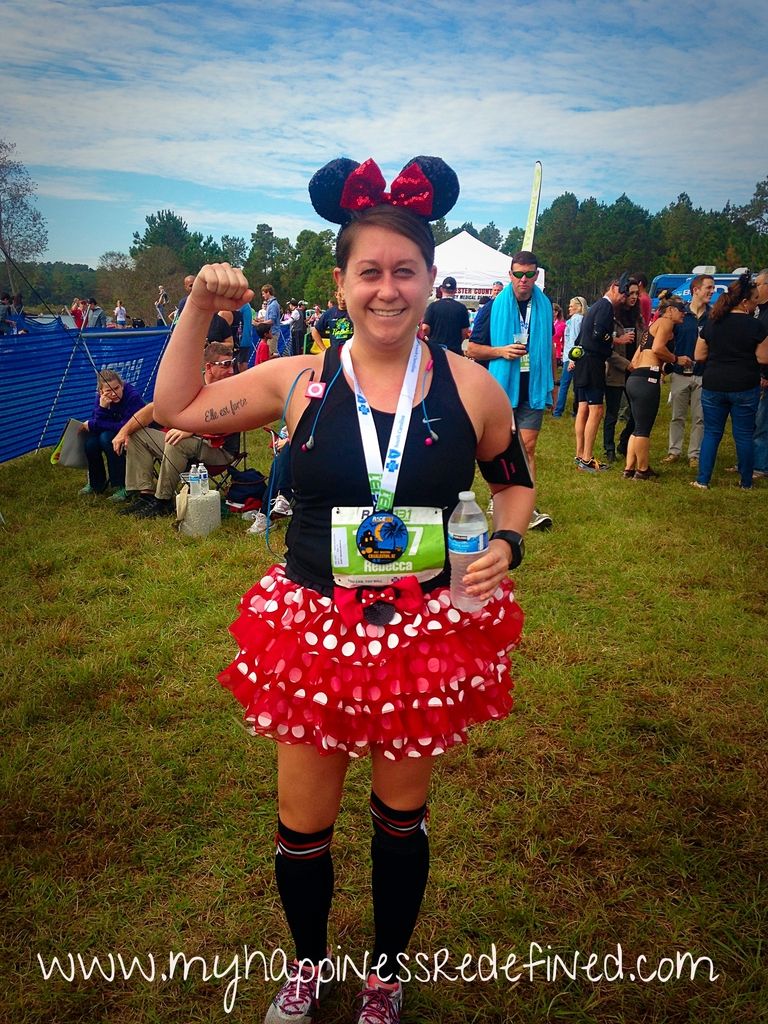
And since it was Halloween, of course I dressed up!


 photo 15af0db1-162e-49ff-af45-ce00e042d616_zpsk5st4fcs.jpg


 photo 22258879-defd-447b-9a79-6ffddf9a3beb_zpsxmi387vi.jpg

The hard part about this race was not the costume.  It was the terrain!  During all my training, I had run on asphalt, but this entire race took place off-road on trails.  It ended up being very muddy due to the flooding that Charleston had a few weeks prior to the race so the course was a little difficult due to areas of thick mud.  This was my first off-road race, so now I know a little more about what to expect for next time!  The important thing is I finished.  My race time ended up being 2:36:32.  Not at all what I expected or what I had hoped for, but considering the terrain and the unexpected injuries, I was pretty happy with that!


 photo b3d78aa6-830a-43e0-a839-a394cad99f4b_zpsre3p9kk3.jpg


 photo fb6f87f7-602d-481b-bf23-8b8c3e1fba49_zpsws2zck6d.jpg

I'm not sure that I would make trail running a regular thing, but it was a good experience to have.
Stay tuned to hear my recap of Rock 'n' Roll Savannah!


Follow my blog with Bloglovin

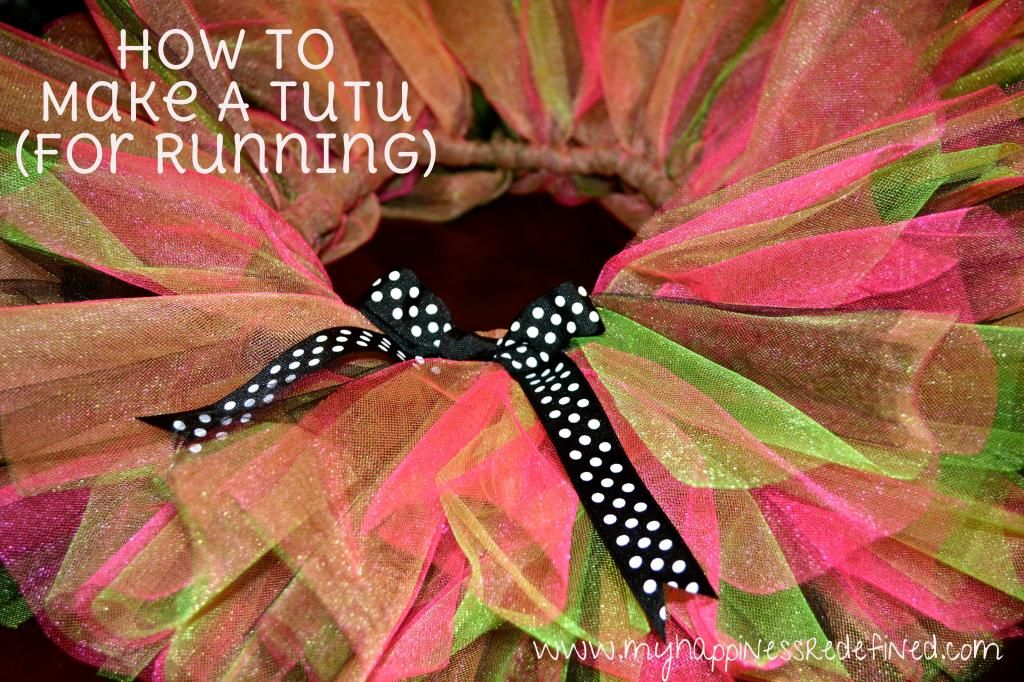
How To Make A Tutu (For Running)

Wednesday, July 16, 2014

 photo 0a2bed39-ef76-4d7b-930e-3b2fbb198e43_zps3f209d25.jpg


I am SO excited to be running the Electric Run in Charlotte, NC in just over a month!

It's a 5K run/walk that takes place at night with tons of light displays, glow sticks, and music.


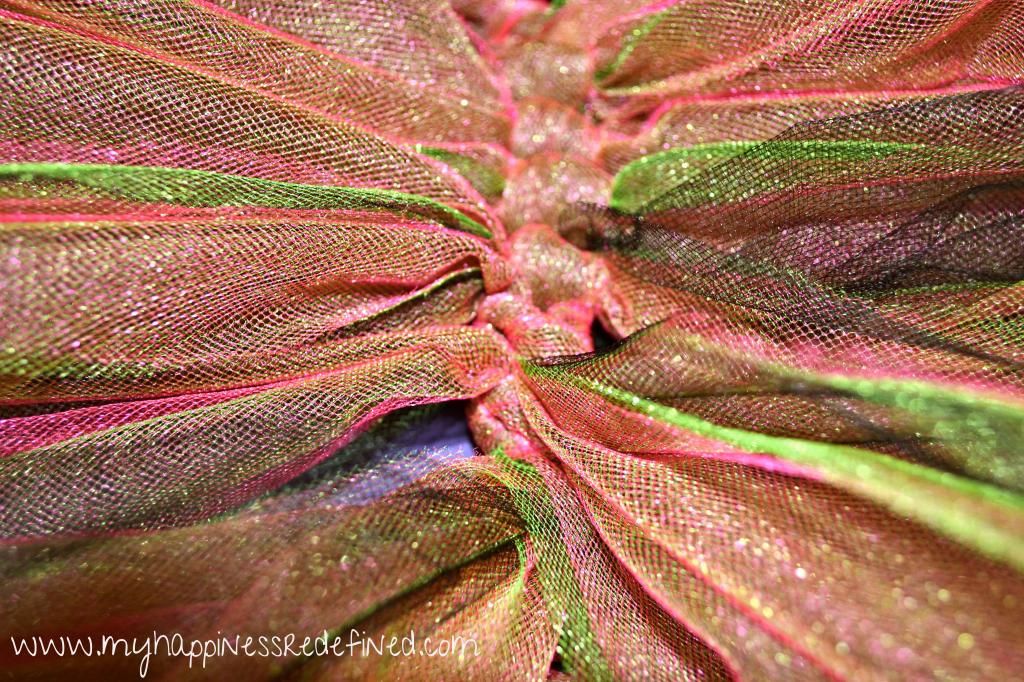
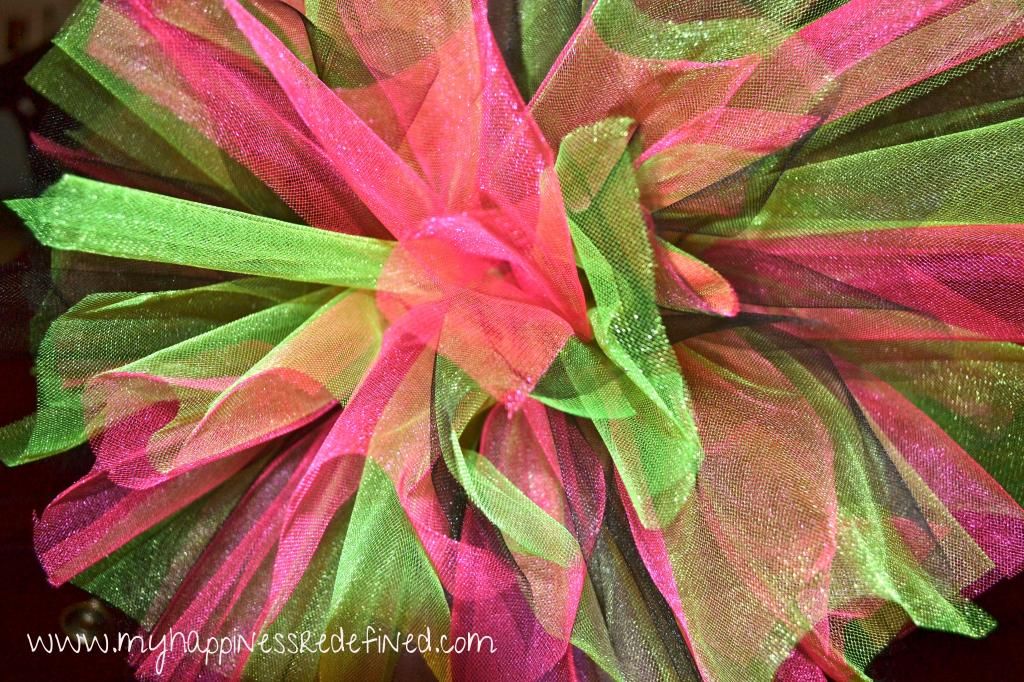
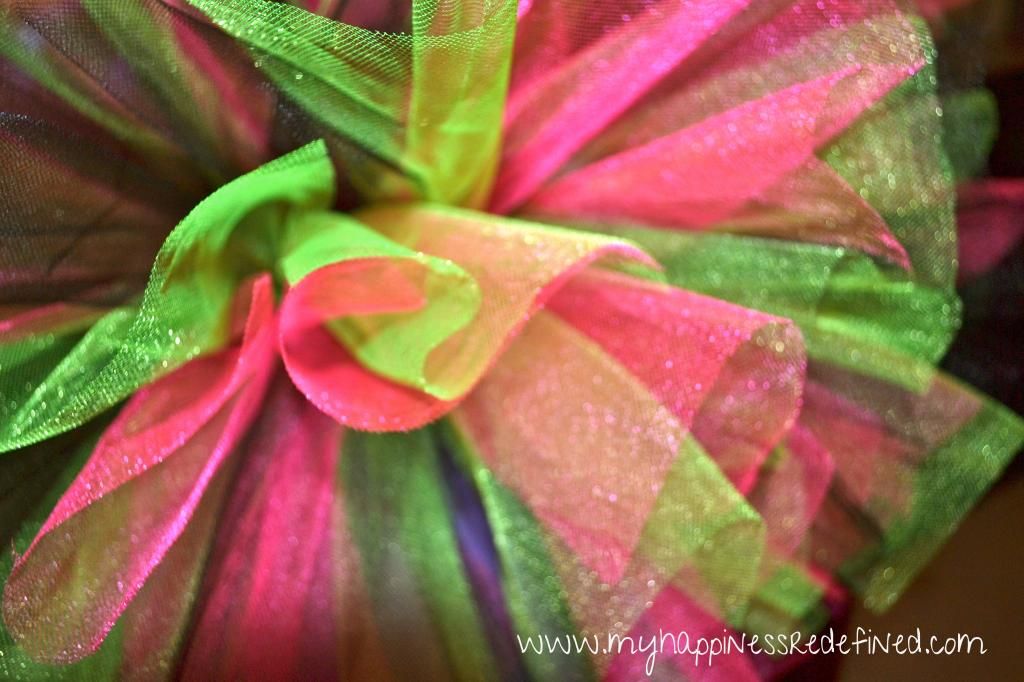
Since this is a FUN run, I decided to have a little fun with my outfit this time and make a bright tutu for the race!
I've seen a lot of people wear a tutu for races like these, so I decided to try to make one of my own
because, well
I'm crafty, and I thought it would be more fun than buying one.

It was really easy and a lot of fun to make!
So here's my tutorial for how to make a tutu!


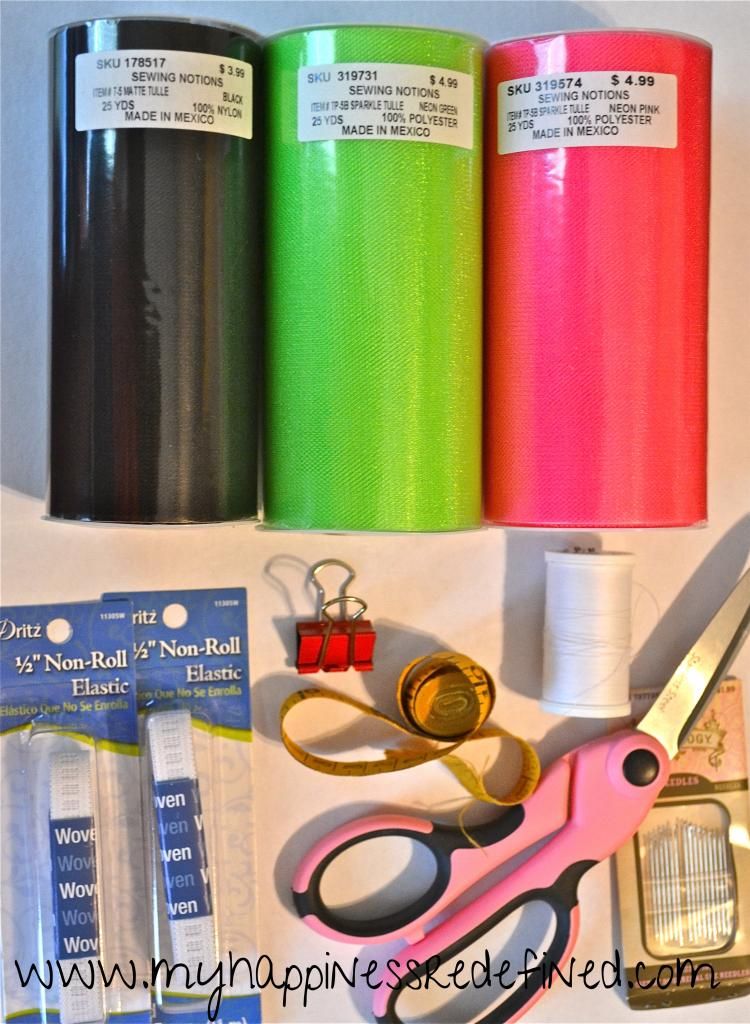
What you'll need:

 photo 856036eb-5a33-4976-90cc-9f7f89cd8bbd_zps487cd58f.jpg


  • Tulle: I used three different colors of tool.  Each spool was about 6" wide and 25 yards long.
  • Elastic: I used 1/2".
  • Measuring Tape
  • Needle and Thread
  • Scissors
  • Binder clip or Safety Pin

First, you want to measure your waist or hips, wherever you plan to wear your tutu.
You want to make sure you measure yourself with clothes on similar to those you will wear on race day since you will be wearing the tutu over clothes.
Cut the elastic the length you measured.

Next, cut your tulle.
I cut each strip of tulle at 20 inches giving me a 9 inch tutu after tying.
If you want a different length, take the length you want (9 inches), and then multiply two (18 inches).  Then add 2 inches to that to make up for the tying (20 inches).

I used all the tulle for each spool, so depending on your waist size, you may need more spools than I used.

Now you're ready to begin tying!

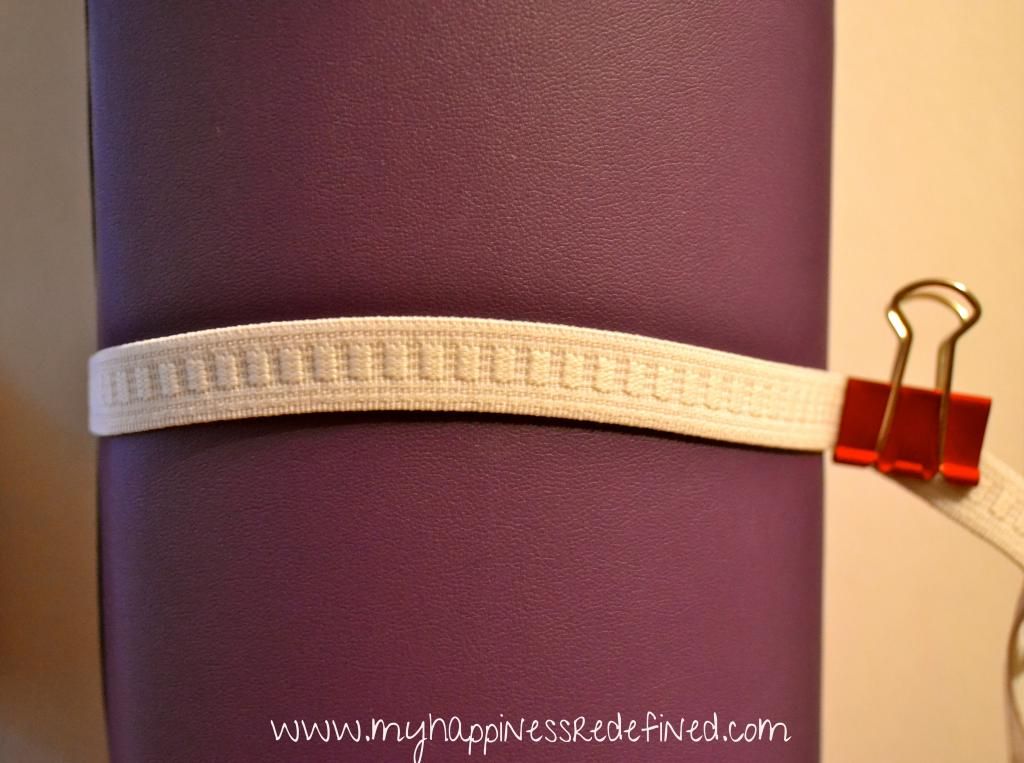
Take a cylinder, clothes hanger, or whatever you can secure your elastic around to begin tying.
I used a massage bolster and a binder clip to hold my elastic.
Just make sure not to stretch the elastic too much!

 photo b3ab555e-e52d-4dfa-9149-c619aa518043_zpsccf38648.jpg


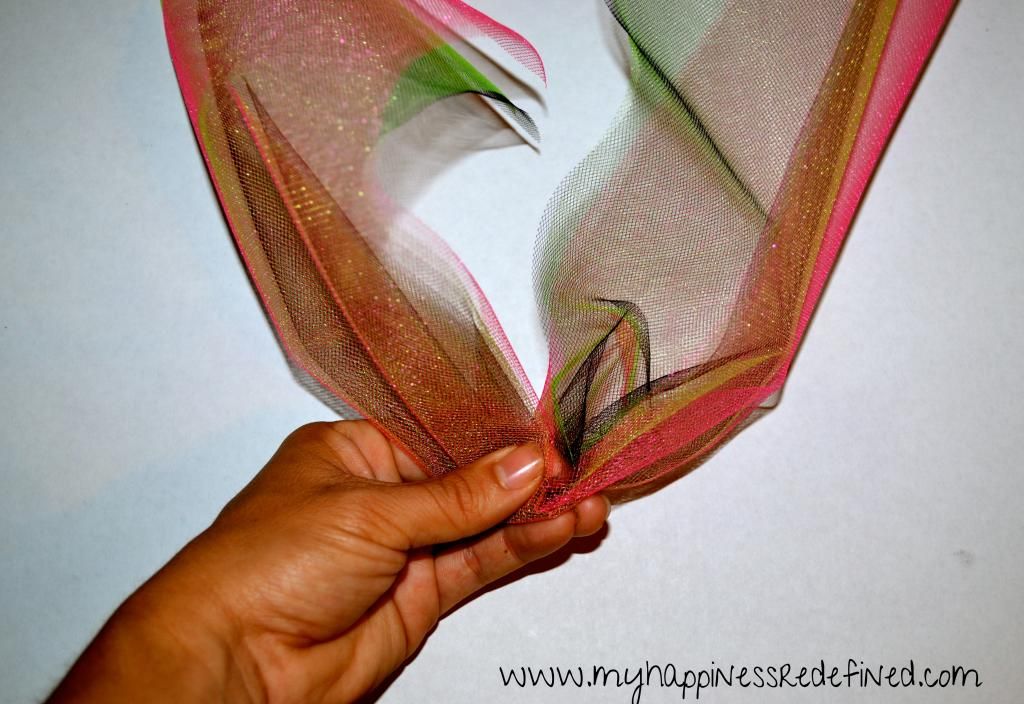
Take one strip of tulle from each color and put them together.

 photo 858705ad-5aee-4d71-8b50-4356468949ed_zps36dde7b1.jpg

(Can we talk about how tan I look in this picture?! The lighting was very good to me here!)


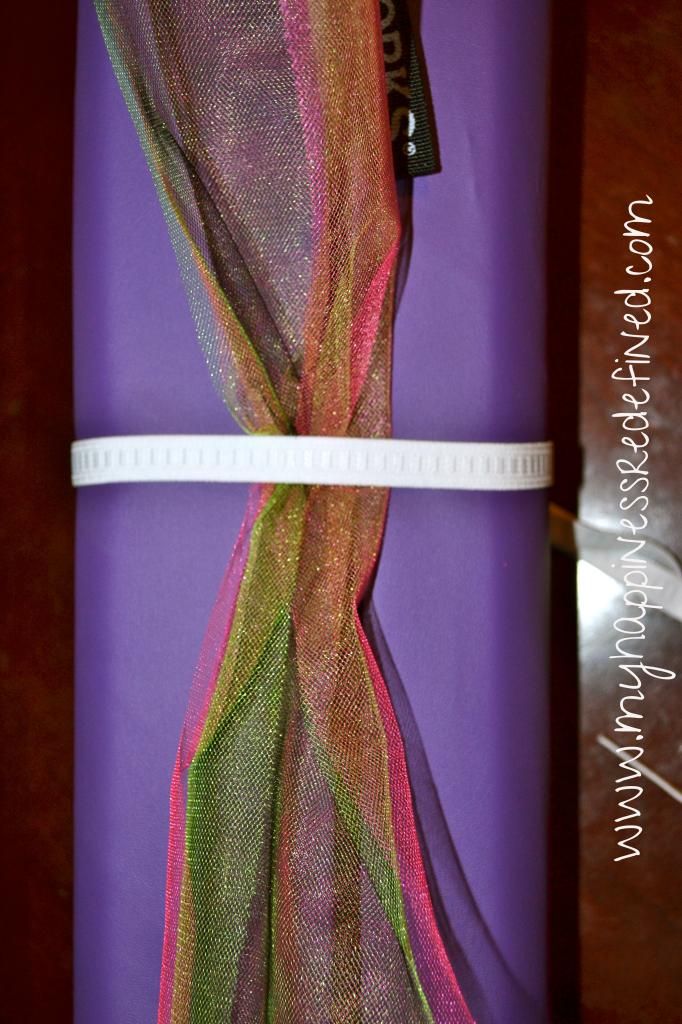
Thread the tulle through the elastic and tie a knot with equal amounts of tulle on each side.
This is different than a lot of tutorials, but I found that this made a much fuller tutu.
I was looking for something with a lot of fluff!

 photo f00cdeac-9a7e-4598-9448-96b4f8b582ba_zpsb5701d82.jpg


 photo c9bc6b49-841e-4b94-8205-5956ec01e771_zps7b9adf6e.jpg


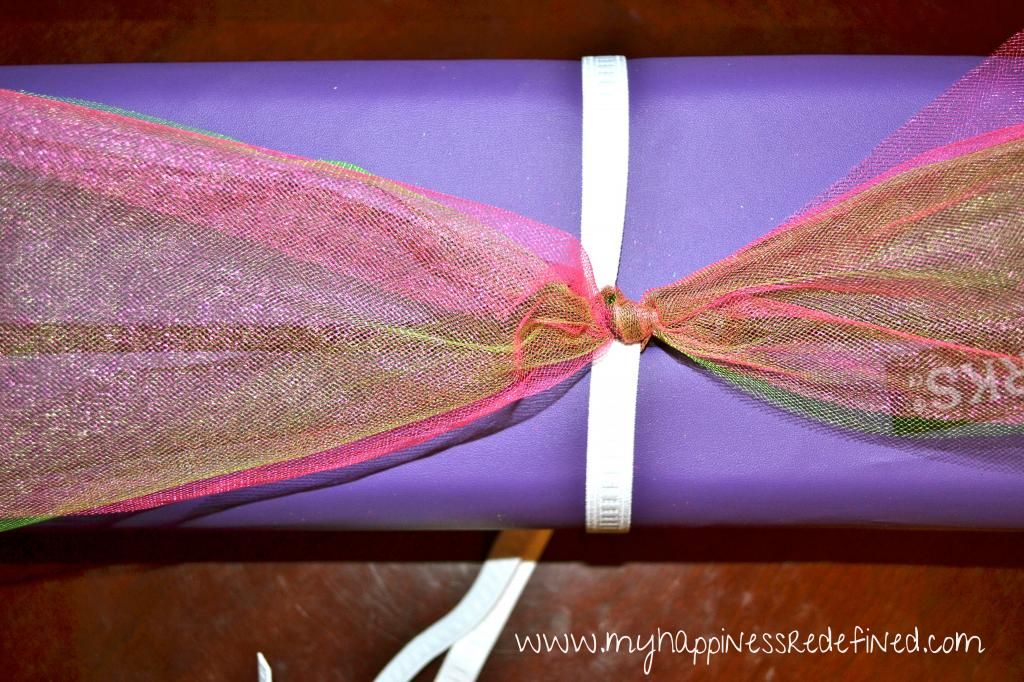
Keep tying around the elastic.

 photo 0df9079c-7f47-468c-860f-863281e8ab58_zps05a26889.jpg


The tulle will be stuck together, so you can start pulling the layers apart to fluff it out a bit as you go if you'd like.

 photo 67af5e58-1910-49f6-b309-a33941e781b1_zps109ab1ec.jpg


 photo b8bf6f1e-60b0-4444-b28c-61d47da800c7_zps52330103.jpg


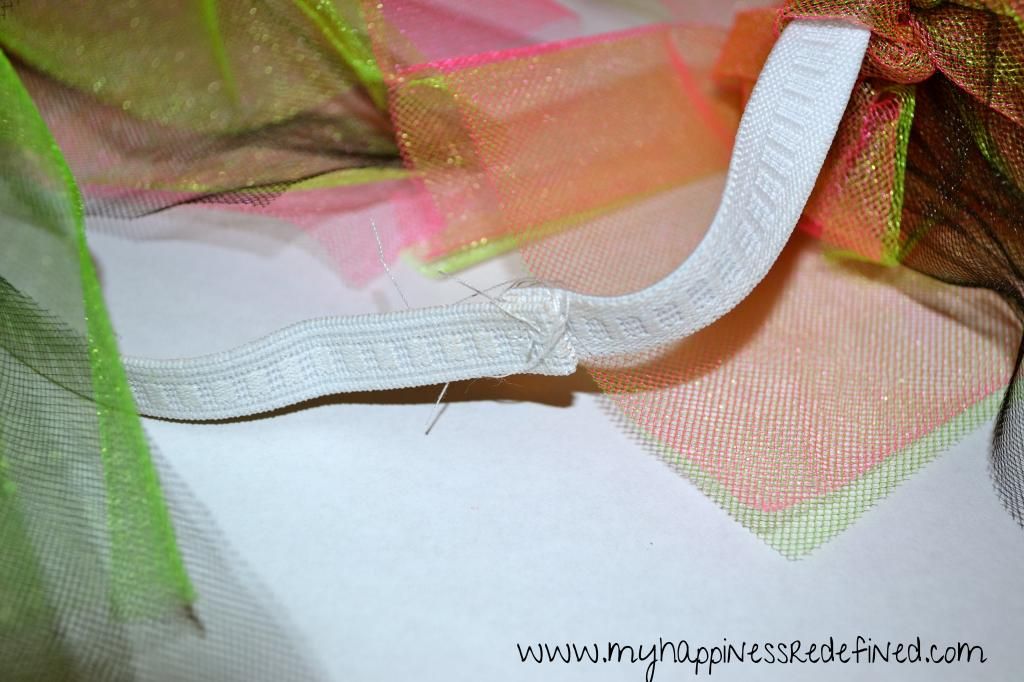
After you get most of the elastic covered with tulle, stretch the elastic and wrap the tutu around you to fit.
You will need to cut off some of the elastic so that the elastic will stretch when you wear the tutu to hold it in place.
I ended up cutting about 3 inches off.
After you make sure your tutu will fit,
sew the ends together.
I did this by hand.

 photo 16bc60b0-27d5-4219-8ee3-f523f69b4929_zpse5a9d1e0.jpg


Continue tying tulle until the rest of the elastic is covered.

 photo 987c2941-45a4-4565-9a74-68c53d30a262_zps25246b3d.jpg


 photo ea41ce41-bc62-47ed-a759-60418f60c5de_zps8b83b9f8.jpg


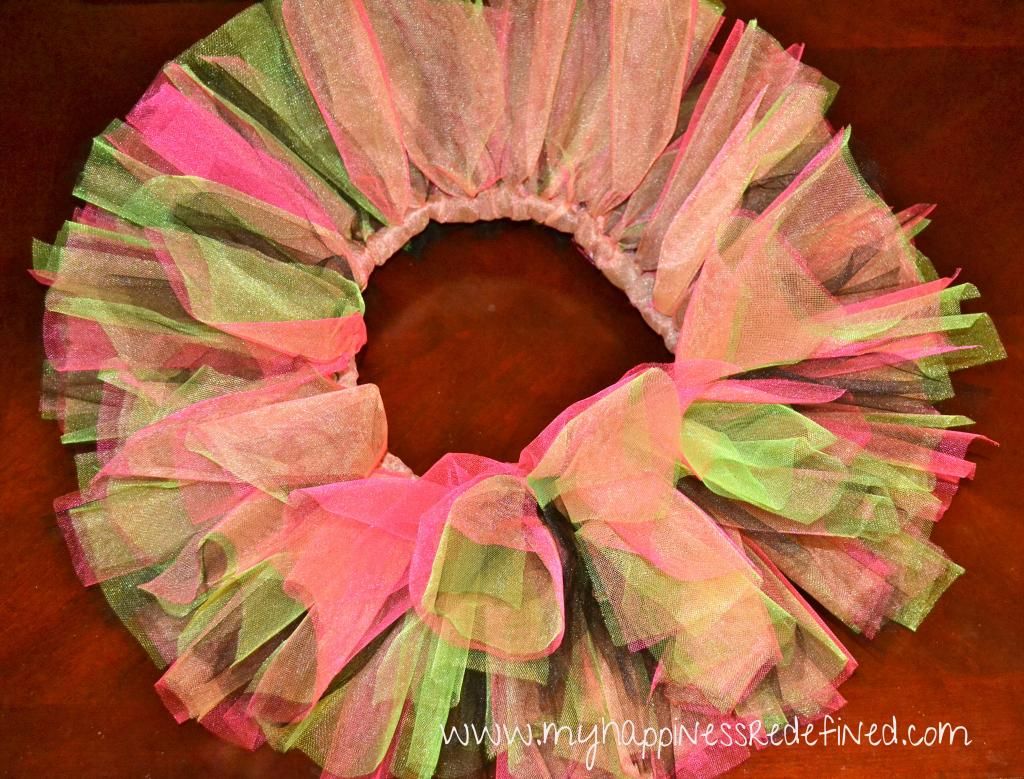
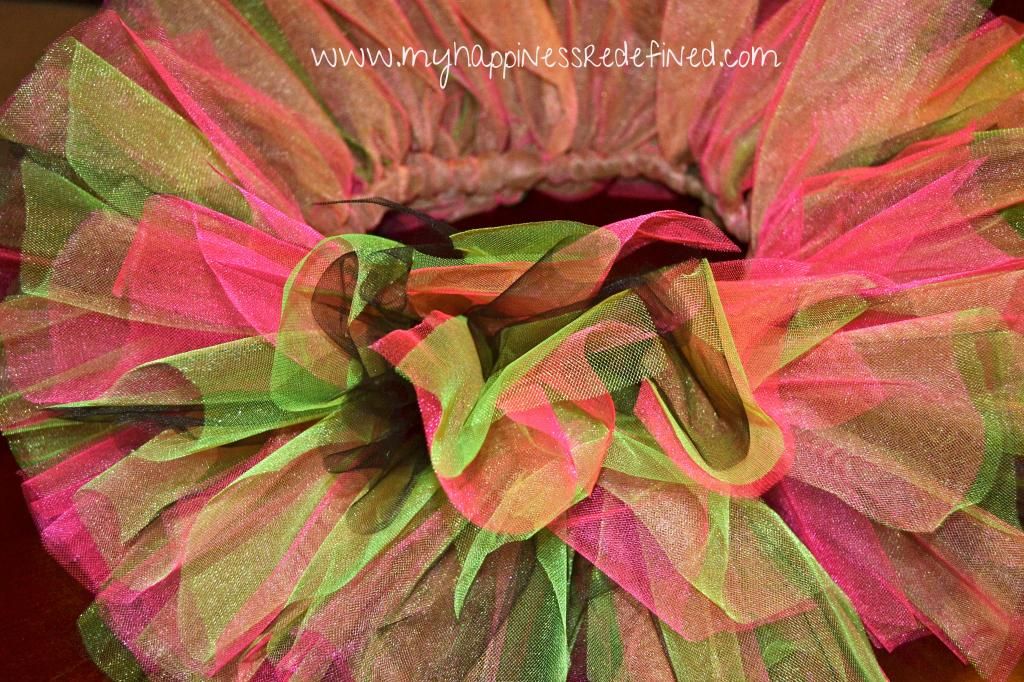
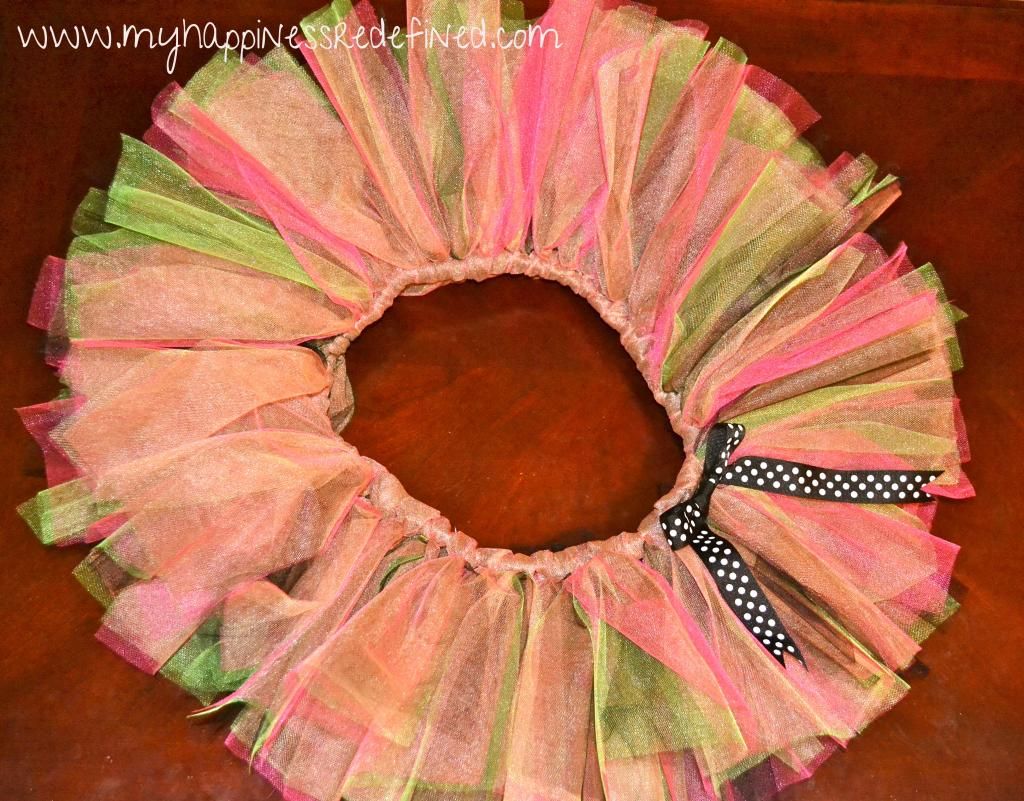
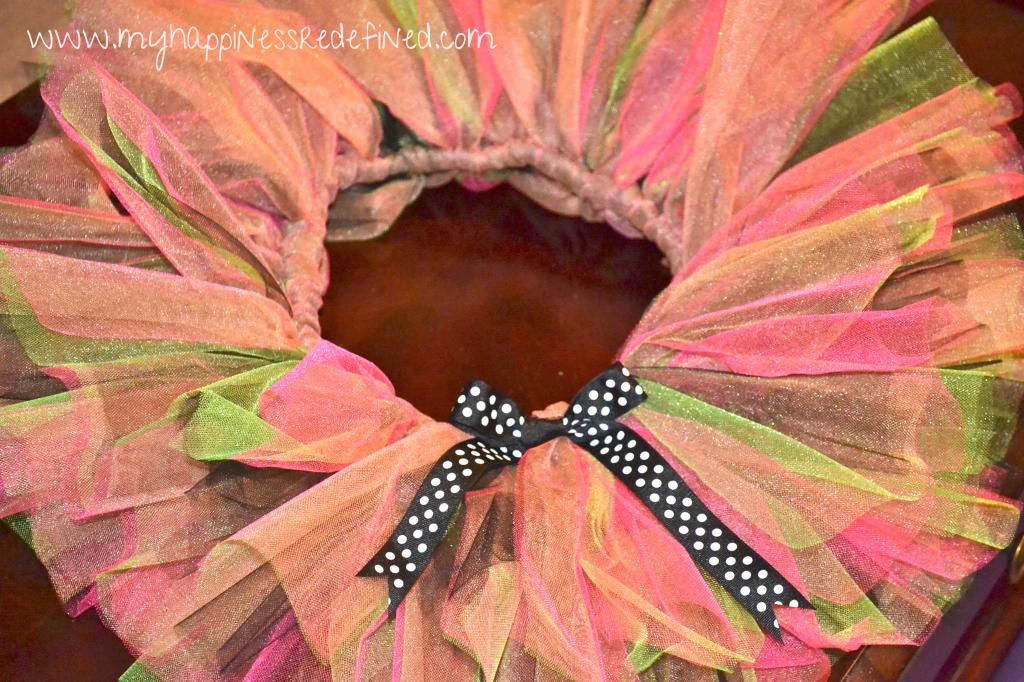
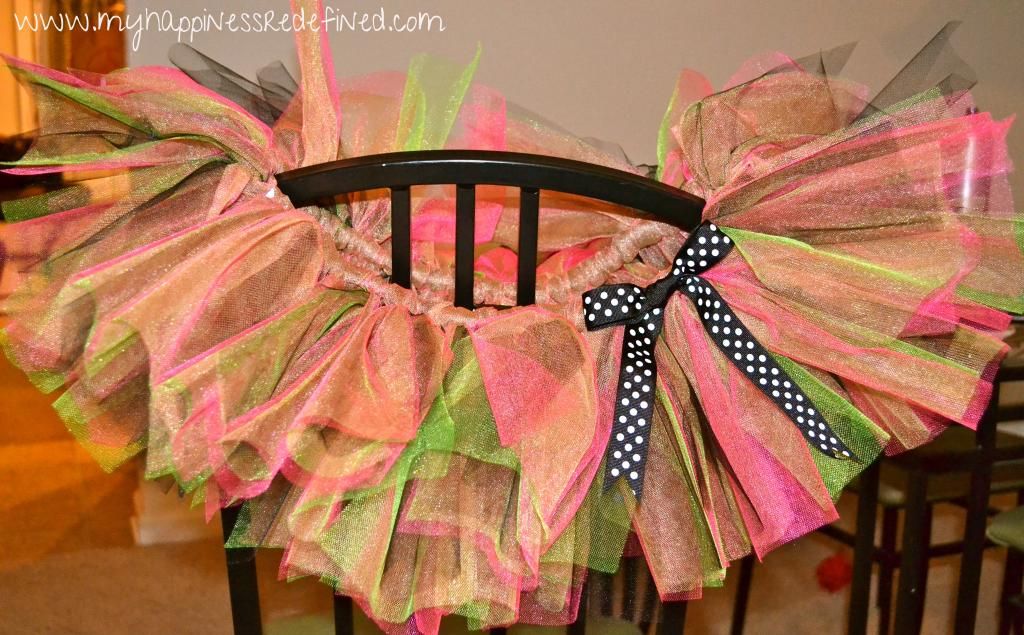
And that's it! You have your tutu!
Super easy and cute!

You can go on to decorate your tutu further if you'd like.
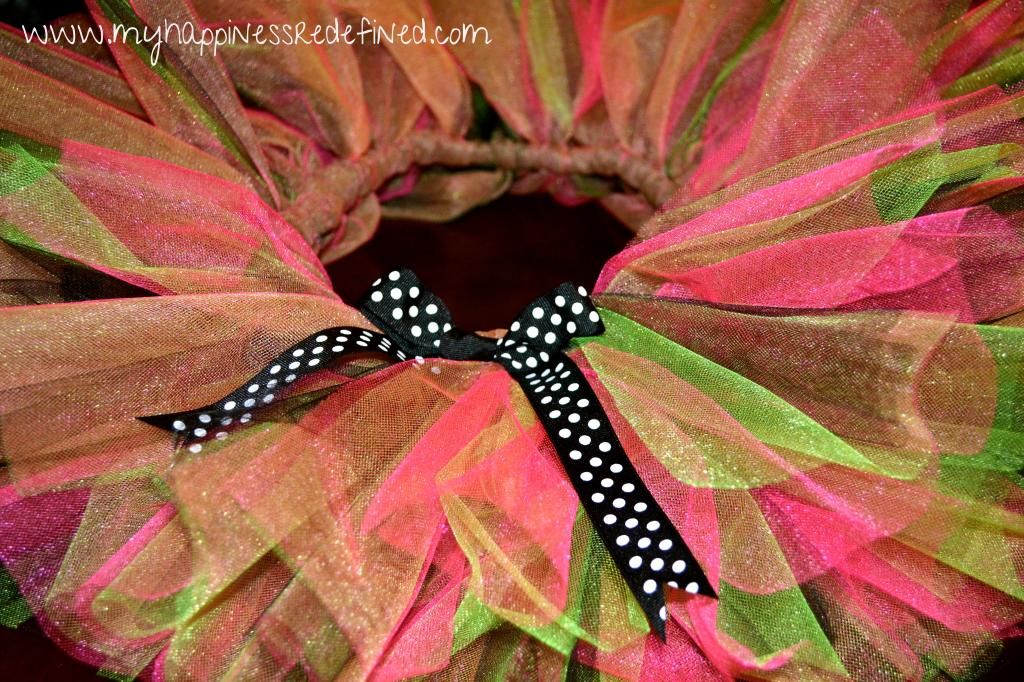
I decided to add a ribbon to mine.

Here's how to add a ribbon:


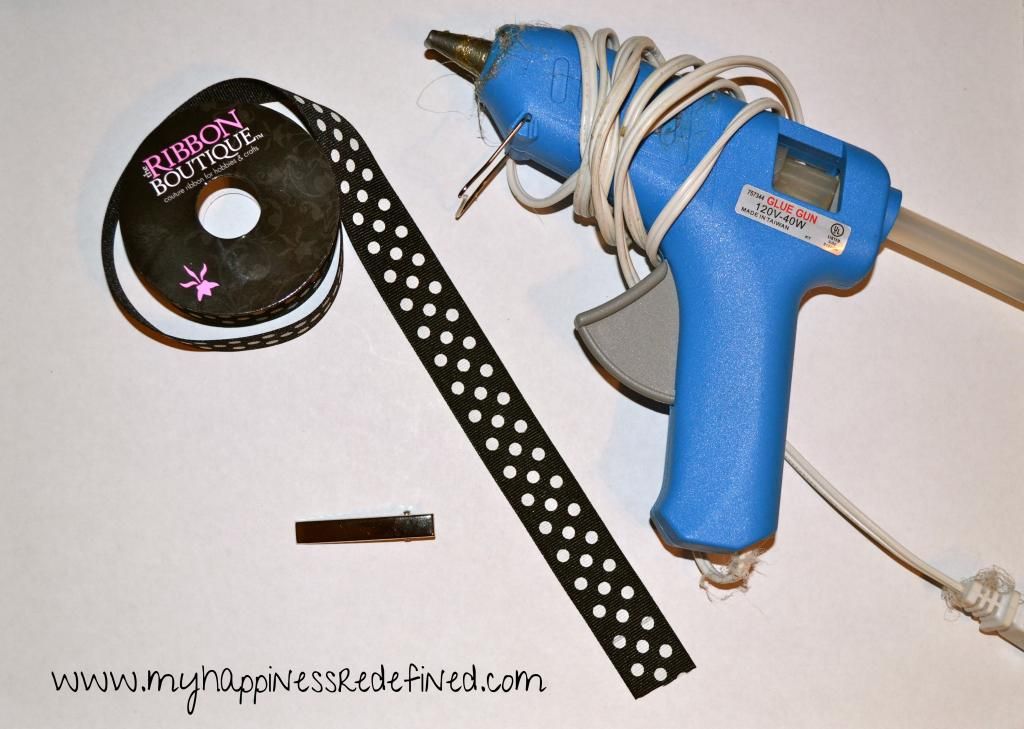
What you'll need:

 photo d21c5cbb-8f96-4762-b8bc-0f66503a6387_zps2d4a5930.jpg

  • Ribbon
  • Alligator hair clip
  • Hot Glue Gun

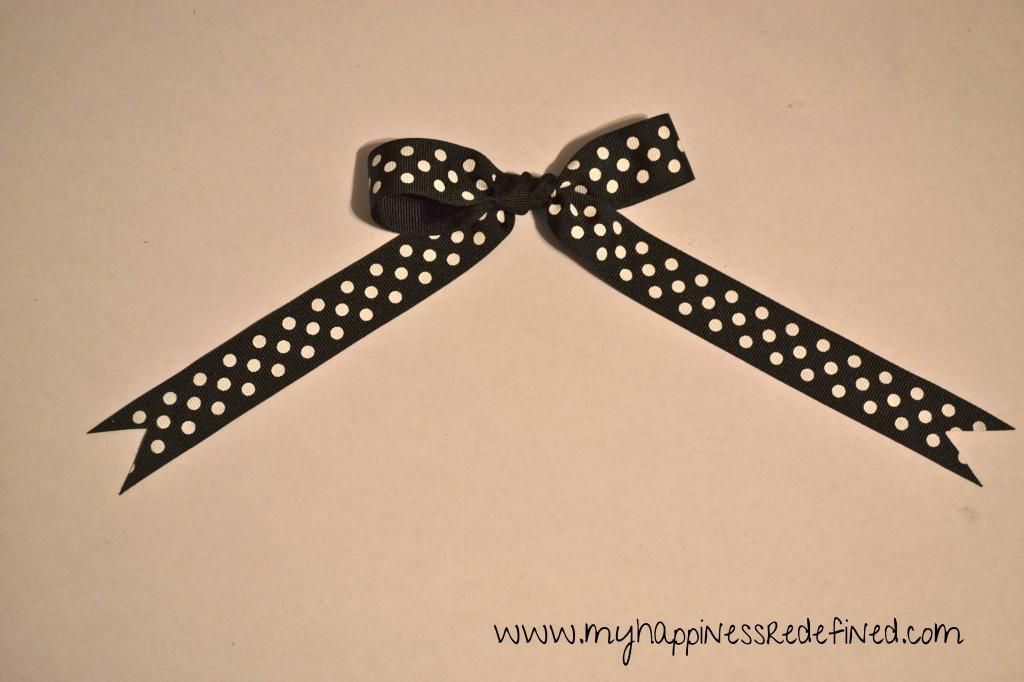
First, tie your bow.

 photo 1c38a651-24c2-4a15-8dec-91e52c4993da_zps6ba544ec.jpg


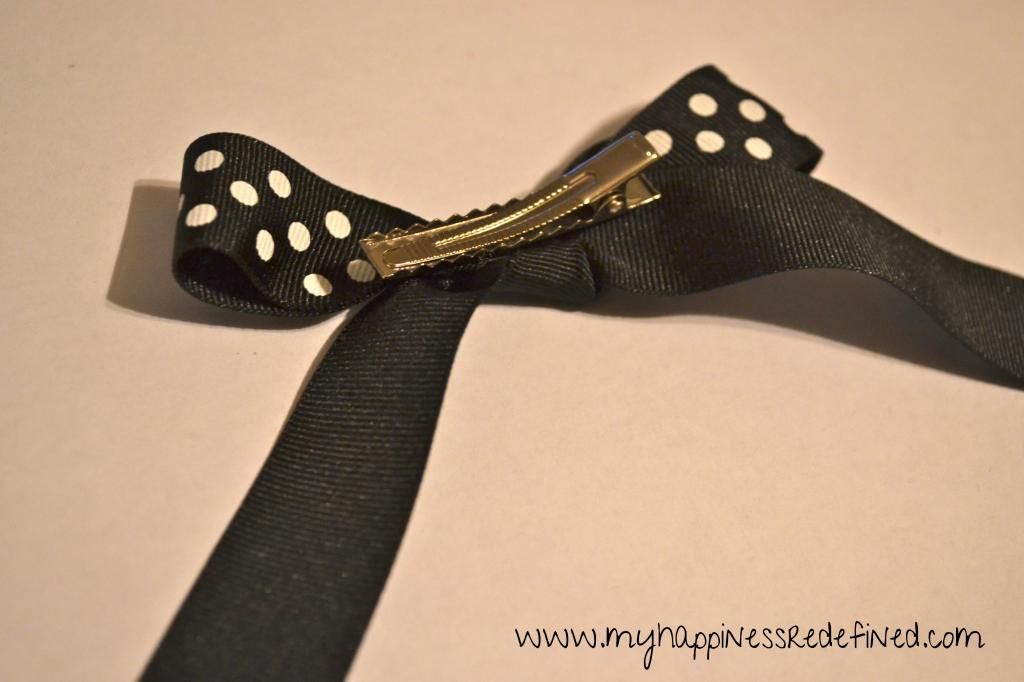
Secure an alligator clip to the back of the ribbon using a small amount of hot glue.

 photo c41dd76f-0cbd-45b3-b94d-b7c9cc20bd60_zps2362f0c6.jpg

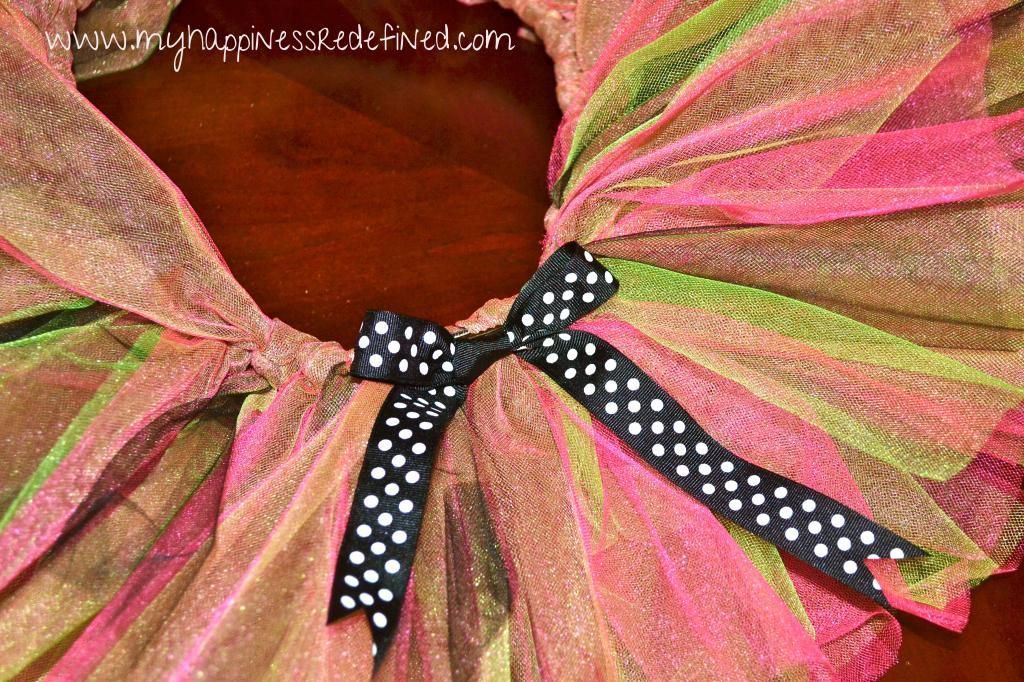
Slide the clip through a loop of tulle around the elastic.

 photo 6dd1aef7-3186-41c8-9cce-19205320f31b_zps89a14ee7.jpg

And that's it!
You have a tutu for race day!

 photo e21b0f52-9070-44e0-9ae2-ff5e20577e69_zps9527b4e4.jpg


 photo 07e20a82-eee8-4b79-bfa1-fec99f4ea156_zpsdd72714a.jpg


 photo fff63ff5-e91d-477e-89d1-3a15103ea156_zps7ce51549.jpg


 photo dbcd26f1-3c6f-47b1-99c8-359c72fa9c8d_zps80df5303.jpg

Of course, this tutu could be made using the same steps for children and other things that don't involve running.
But I'm pretty excited to run my 5K in it!


 photo envye.jpg
envye blogger theme